Installing Ubuntu Server 22.04.2 LTS
The process of installing Ubuntu Server in todays day and age is pretty simple and user friendly. The aim of this post is to document the process of the Ubuntu Server installation as well as to be a future reference when debugging the server configurations.
Installation itself is pretty self explanatory, though for the server side I tend to set up the installation in a bit of a specific way in order to have easier access to the machine as well as to allow for some of “quality of life” features to be enabled in the future.
As the process of installation is pretty self explanatory consisting of mostly pressing “Next”, “Ok” and “Yes”, this post will mostly resemble a picture book with some text where the installation process and values diverge from the default ones.
Installation
After inserting the boot media, in this instance a bootable USB flash drive with Ubuntu Server 22.04.2 LTS flashed on it and booting from it, the following screen is presented:
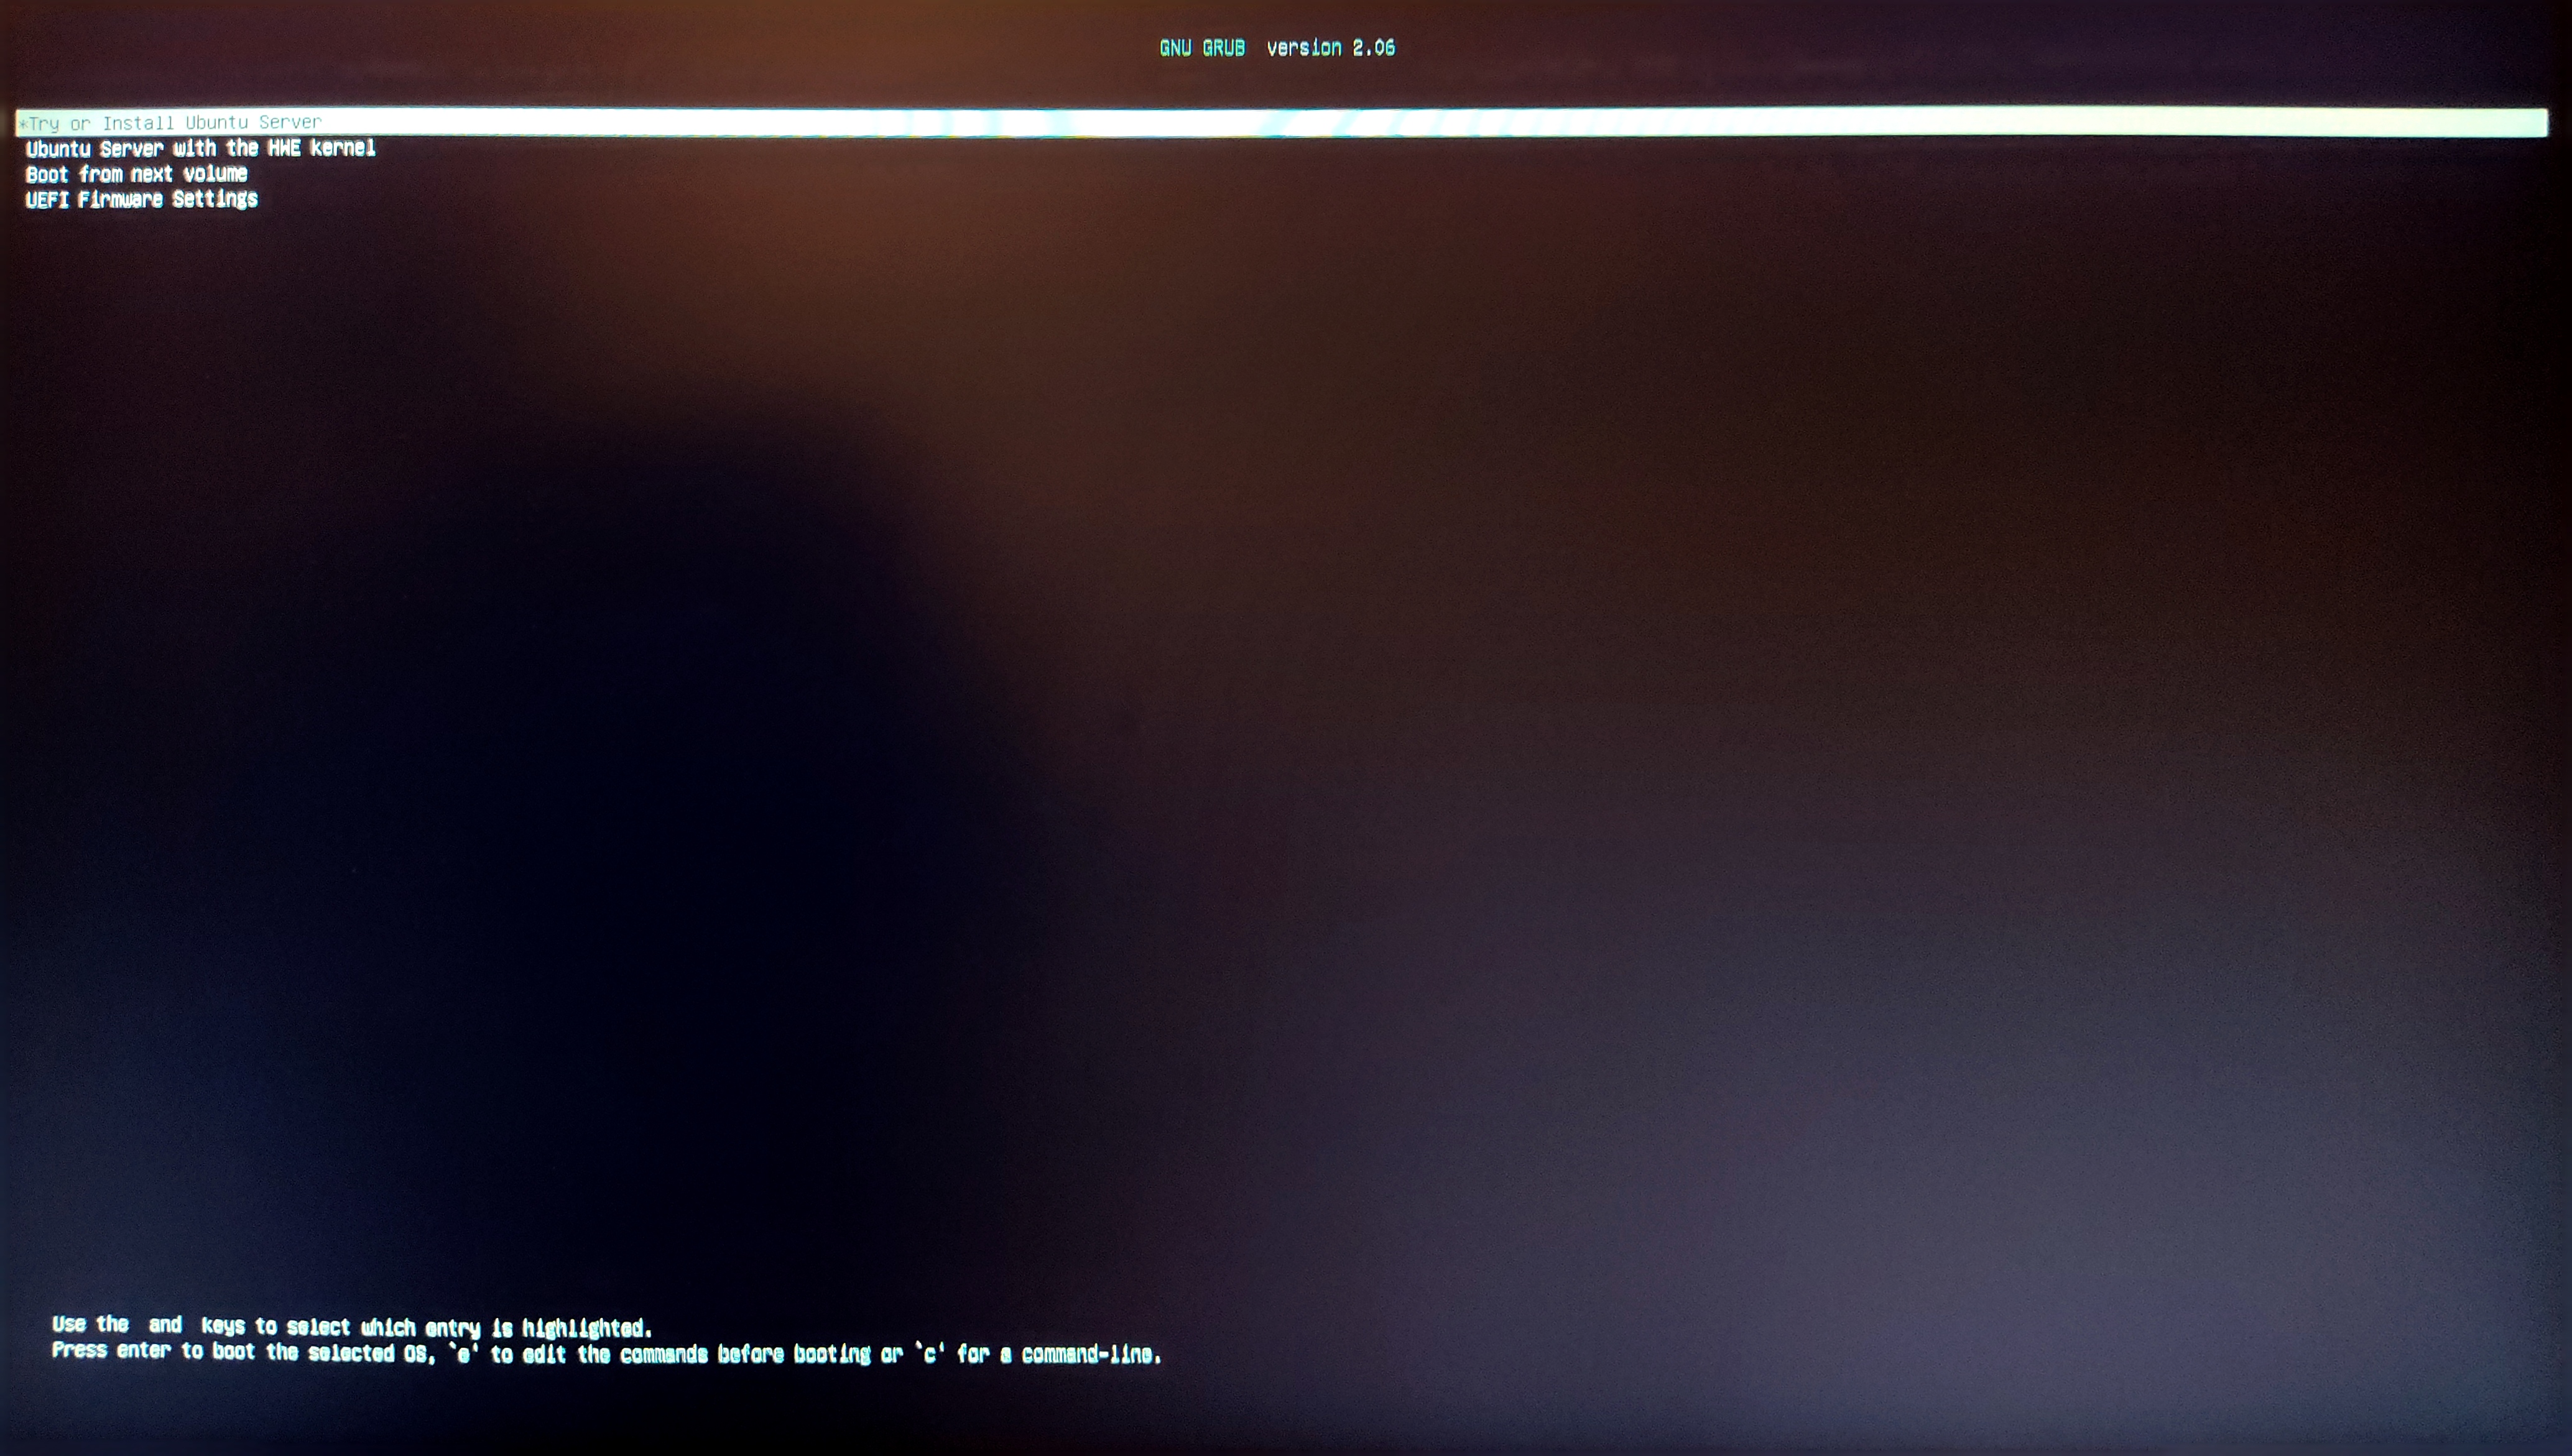
Try or Install Ubuntu Server shall be selected and enter shall be pressed.
Next, the language selection menu shall appear, and in this specific example, English is selected.

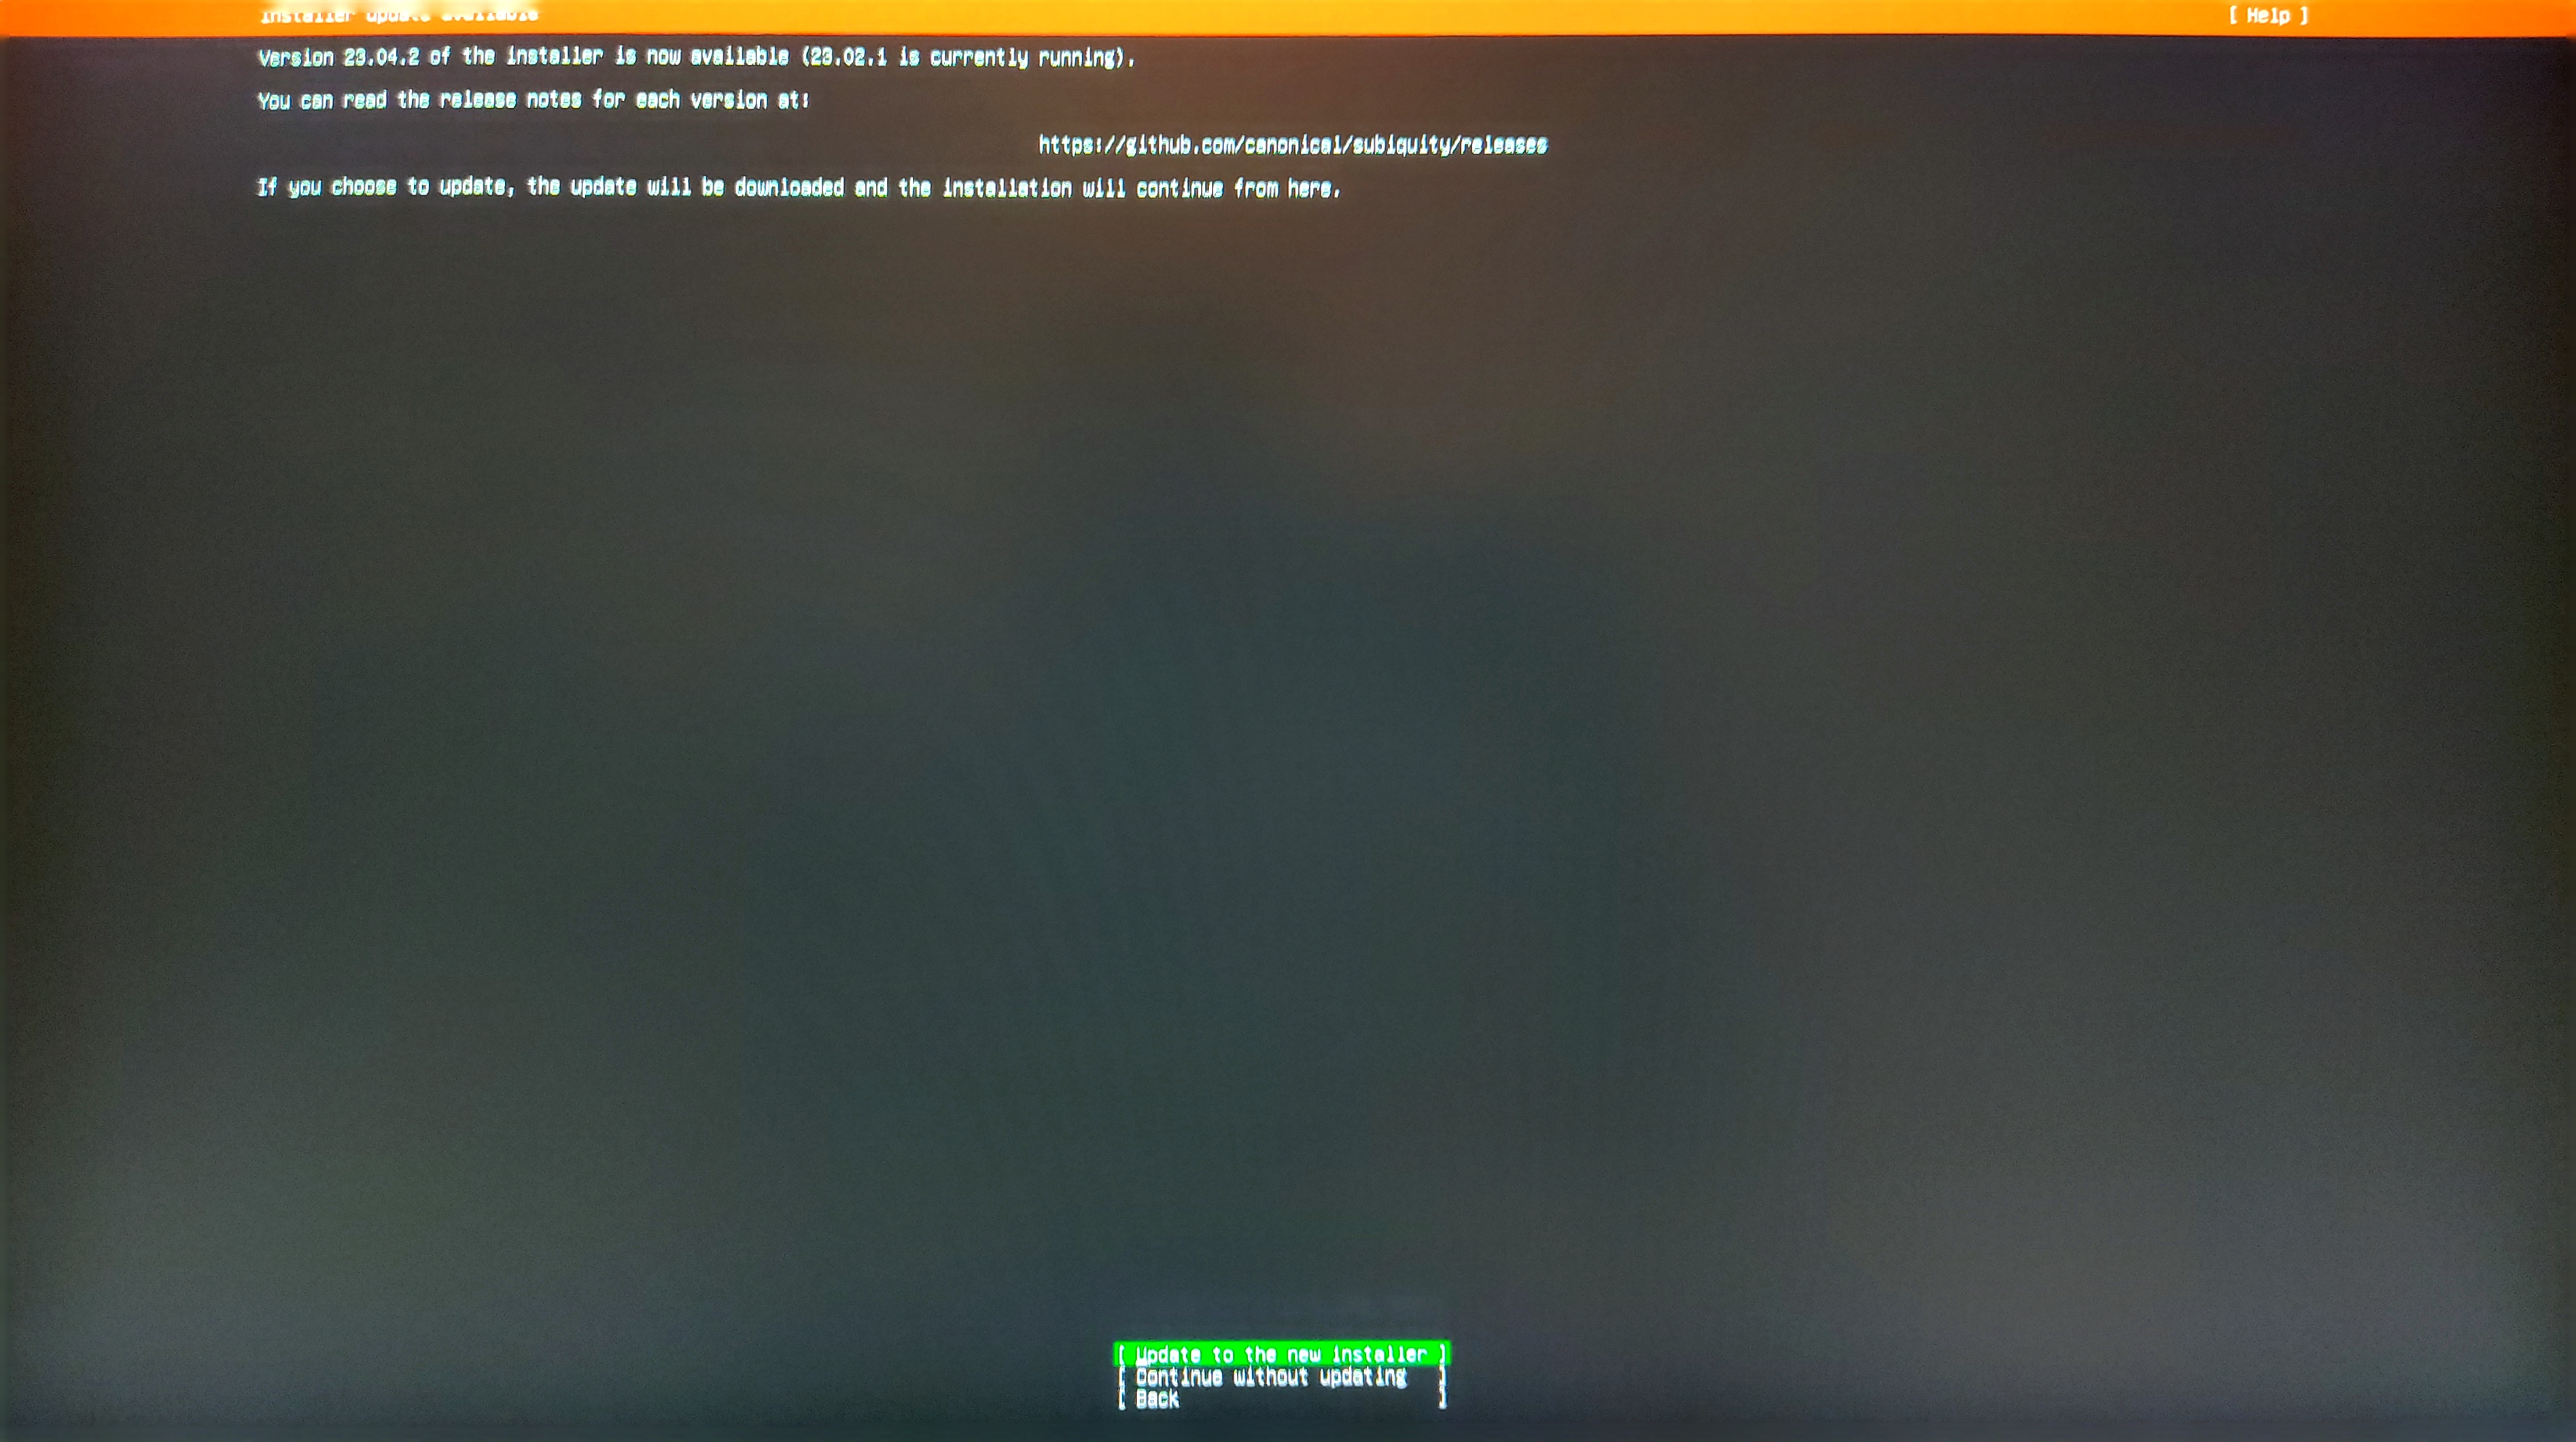
After the language has been selected, a page prompting the update of the installer appears and Update to the new installer shall be selected.
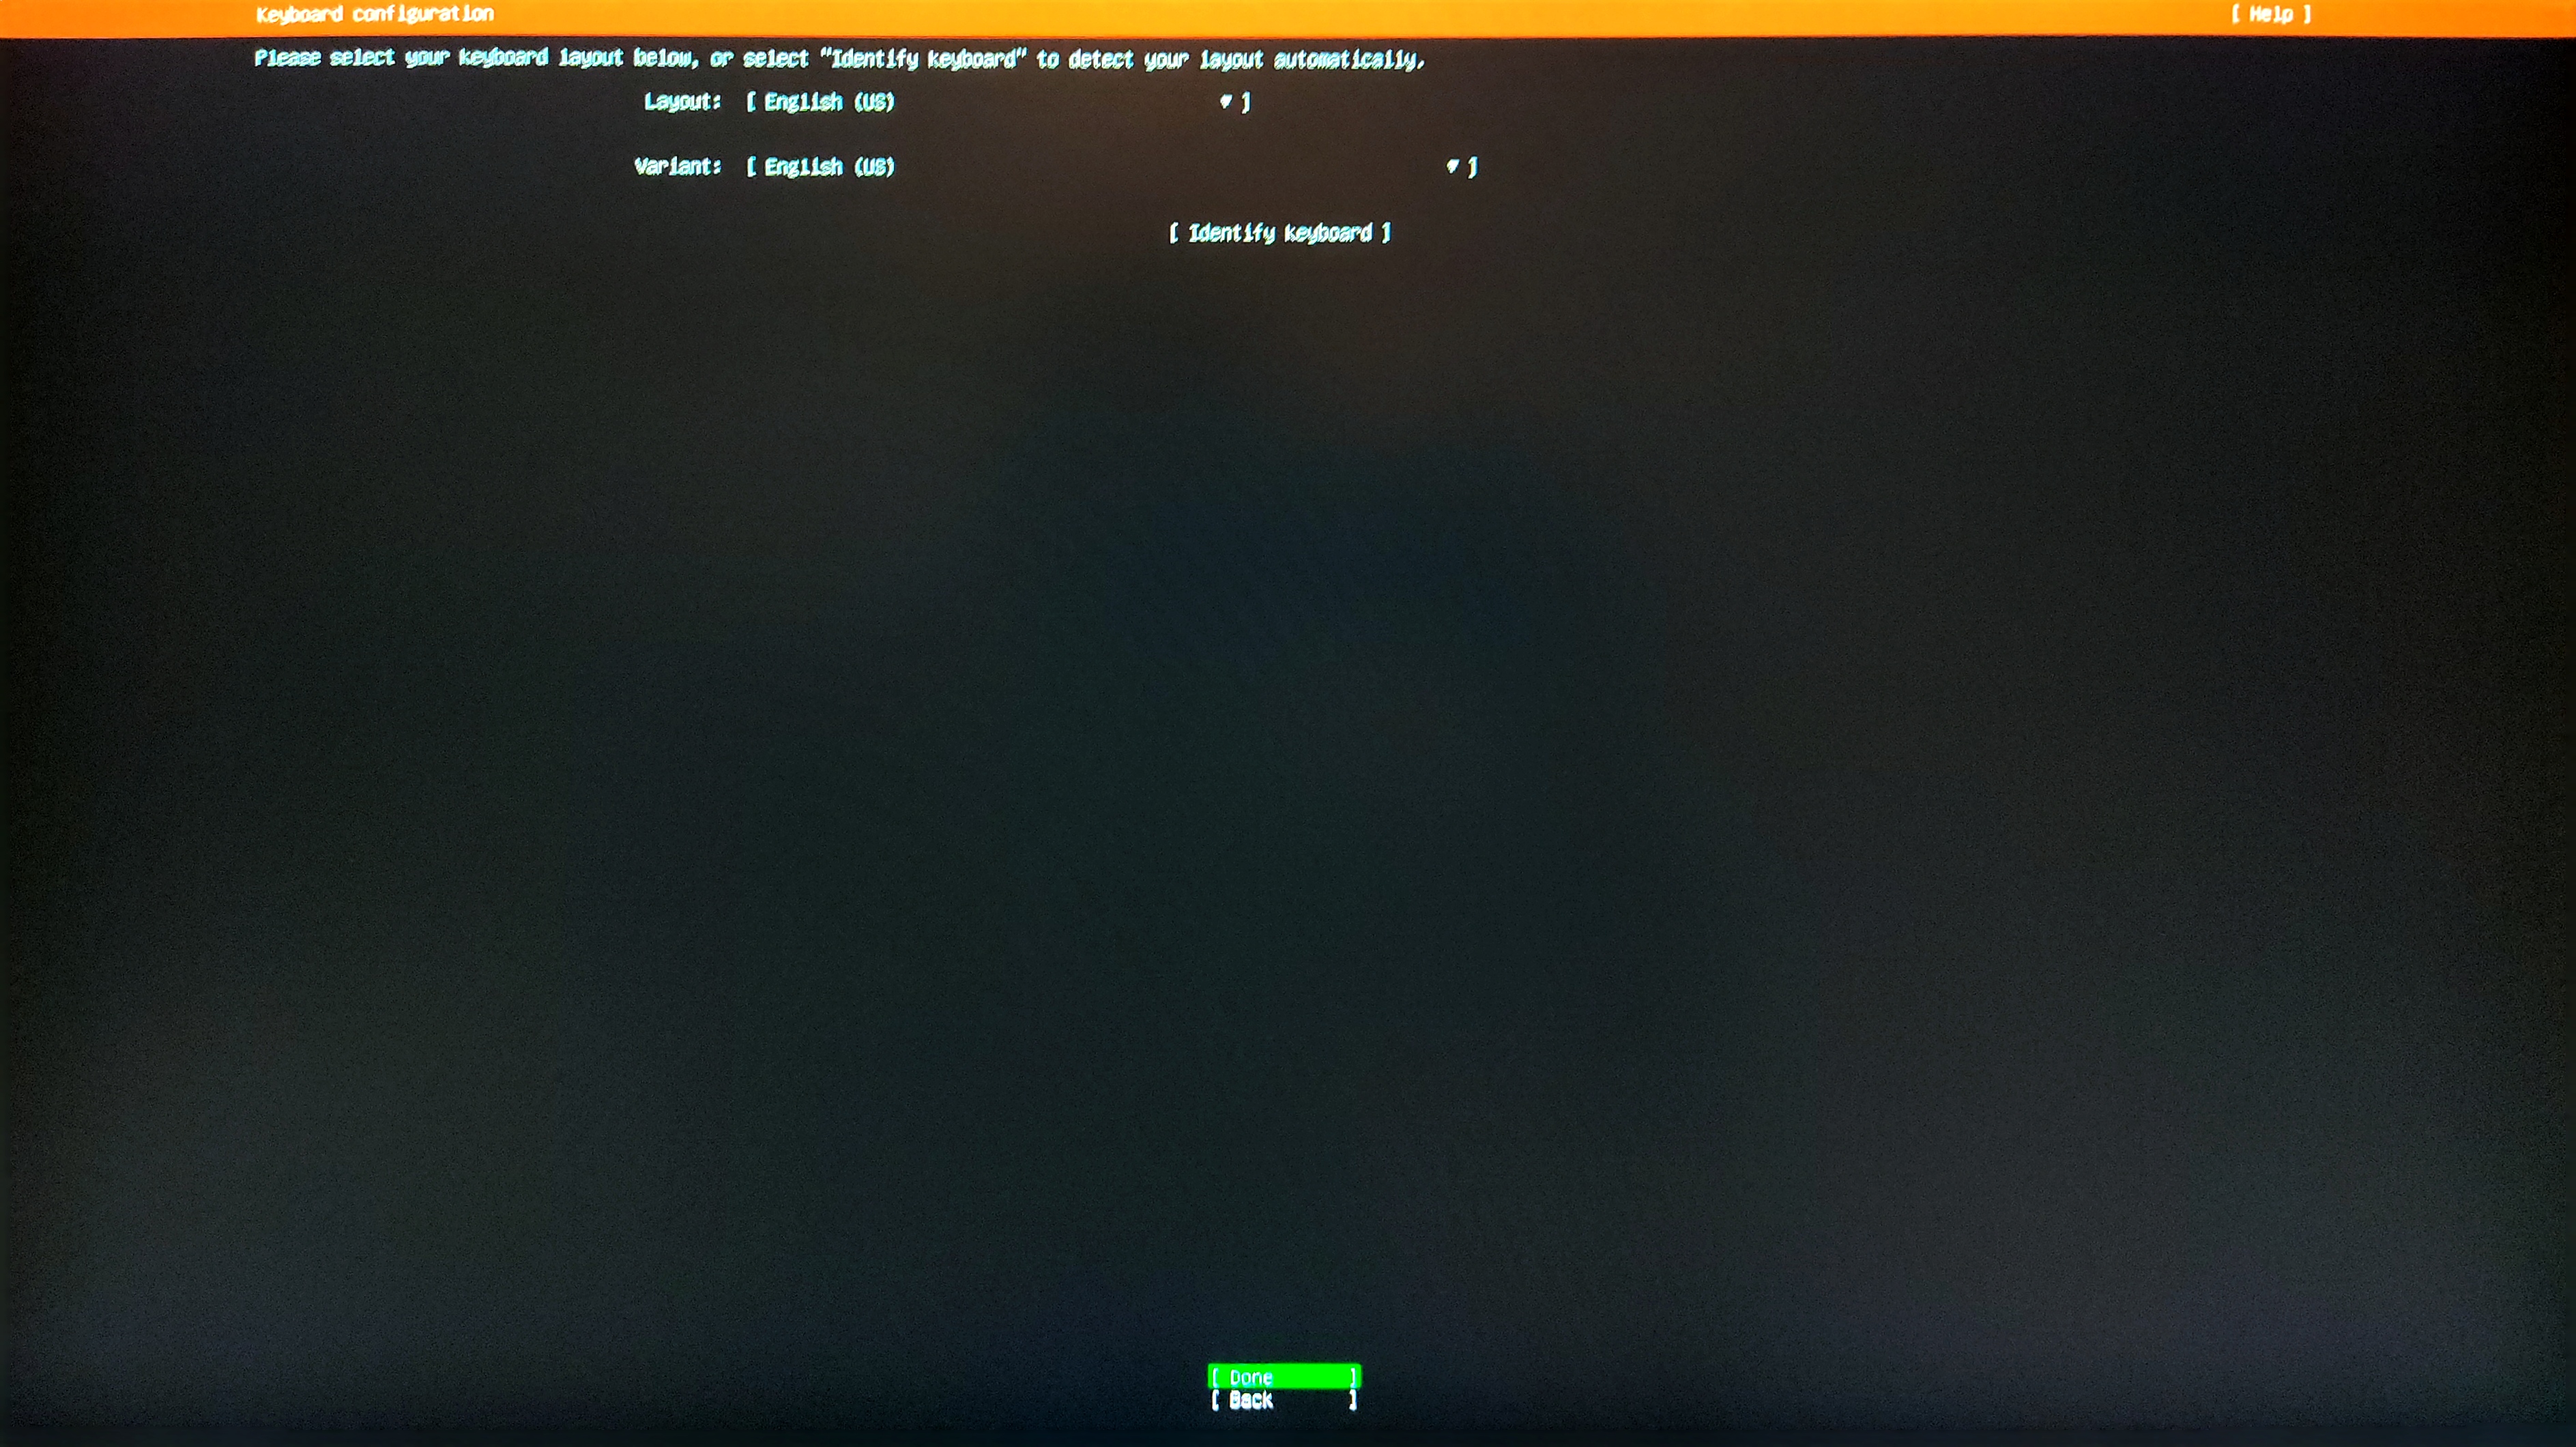
Following that, a menu allowing for the selection of the keyboard configuration appears. As the example uses the default language which is English, the English selection in the given window is appropriate.
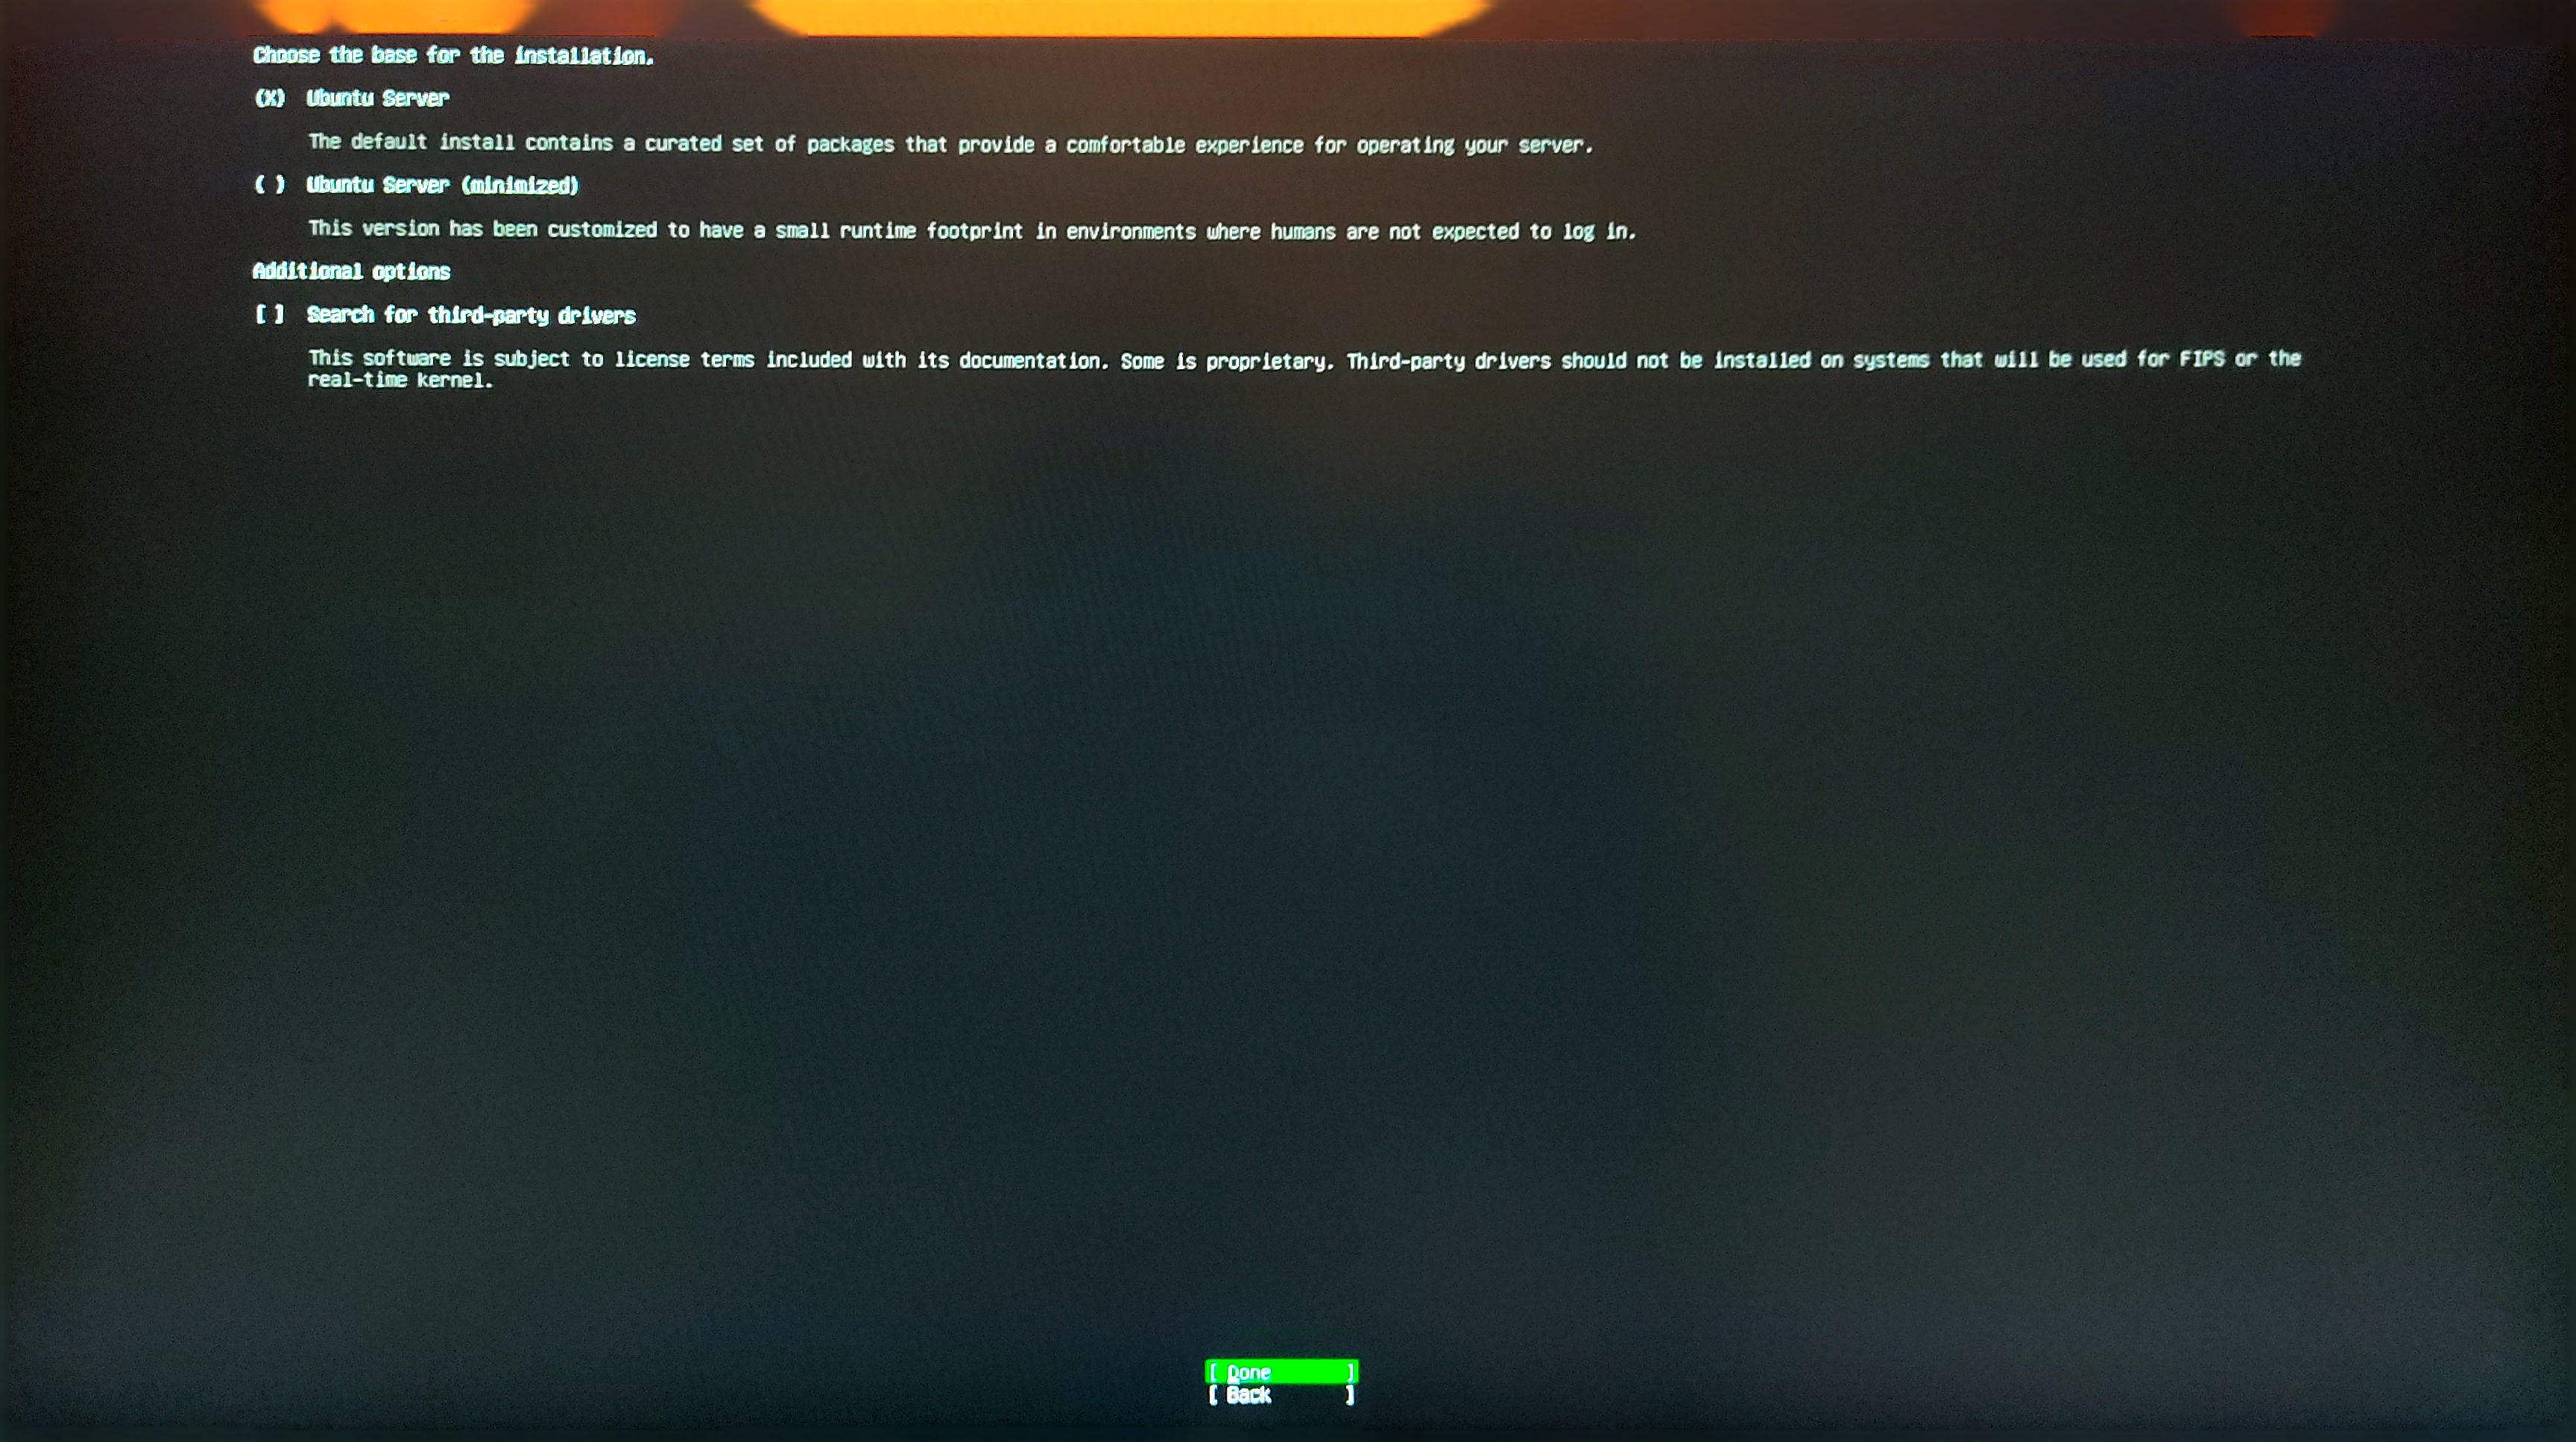
The user is next prompted to chose the version of Ubuntu Server to install and the default Ubuntu Server version is used since there are enough resources on the machine to support it and it gives the convenience of having the most common utilities already preloaded.
Besides this, it is also a good idea to select the Search for third-party drivers in the Additional options section. (Navigate the menu with the arrow keys and select the options with the space key) Once satisfied with the selection, Done can be selected.
After this comes maybe the most important part and that is setting up the IP address. I like to use static IP addresses for the servers on my network so that I can easily find them on the network and easily remote into them. The default for the installation of the Ubuntu Server is to use dynamic IP address.
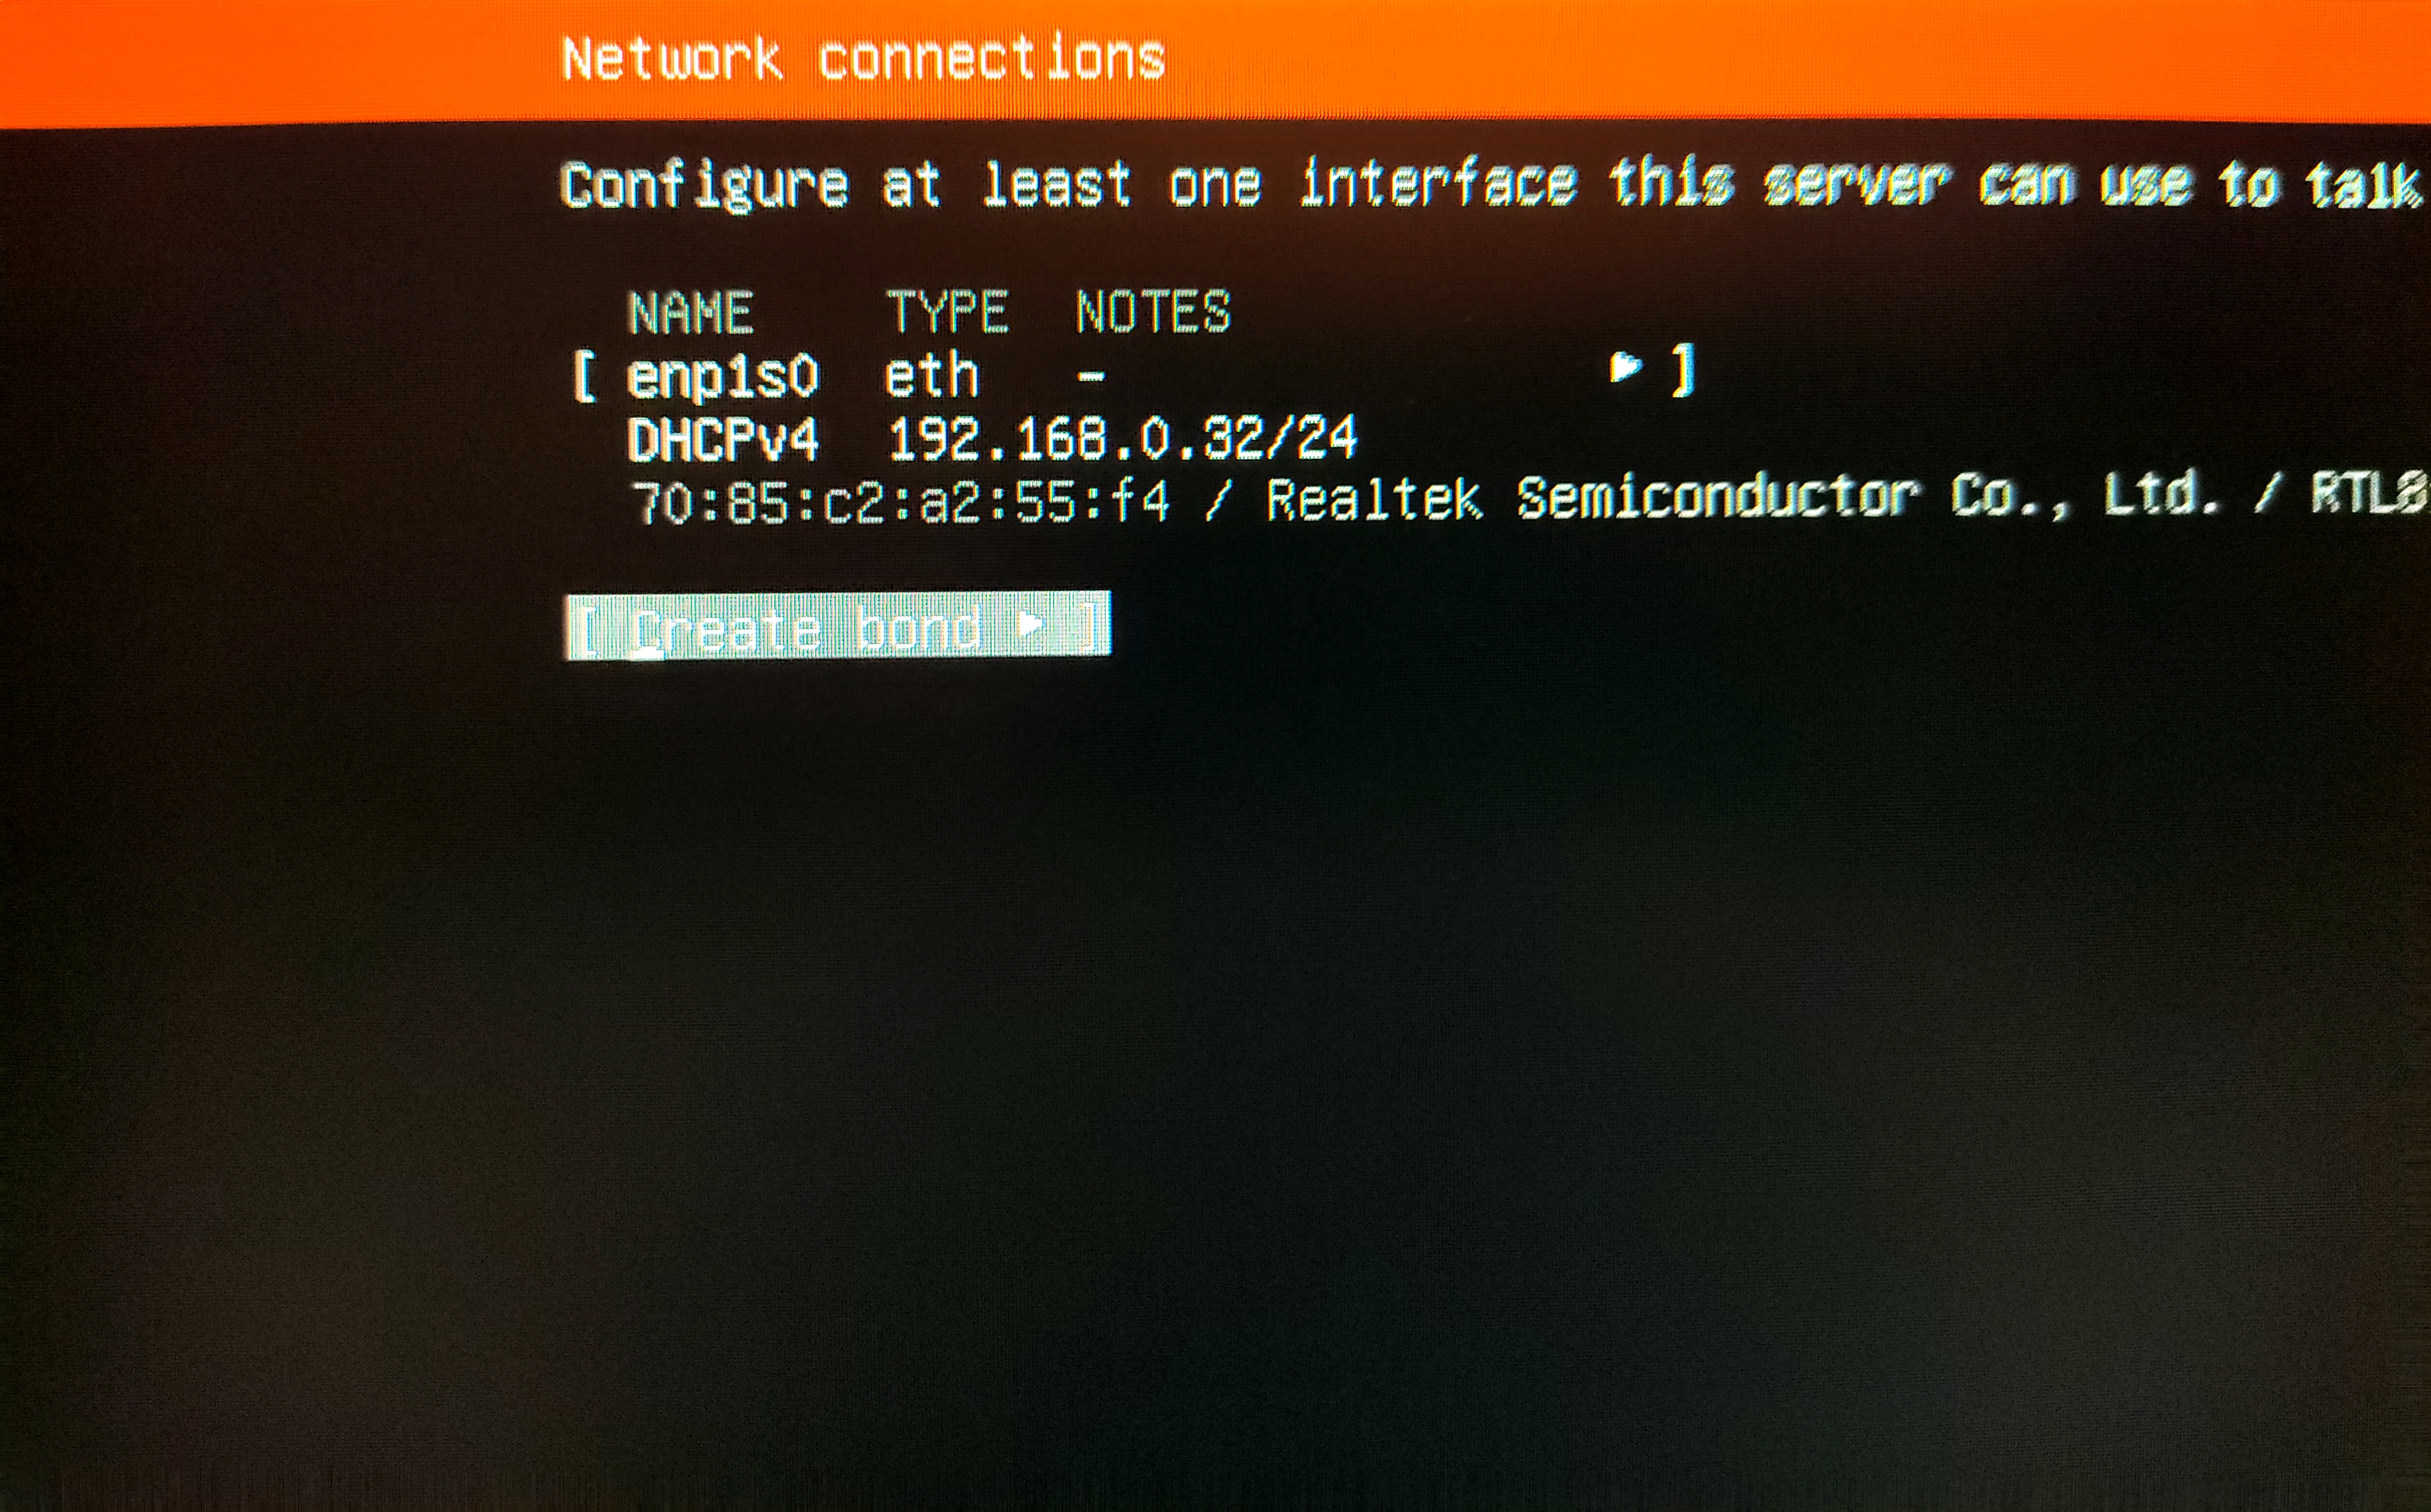
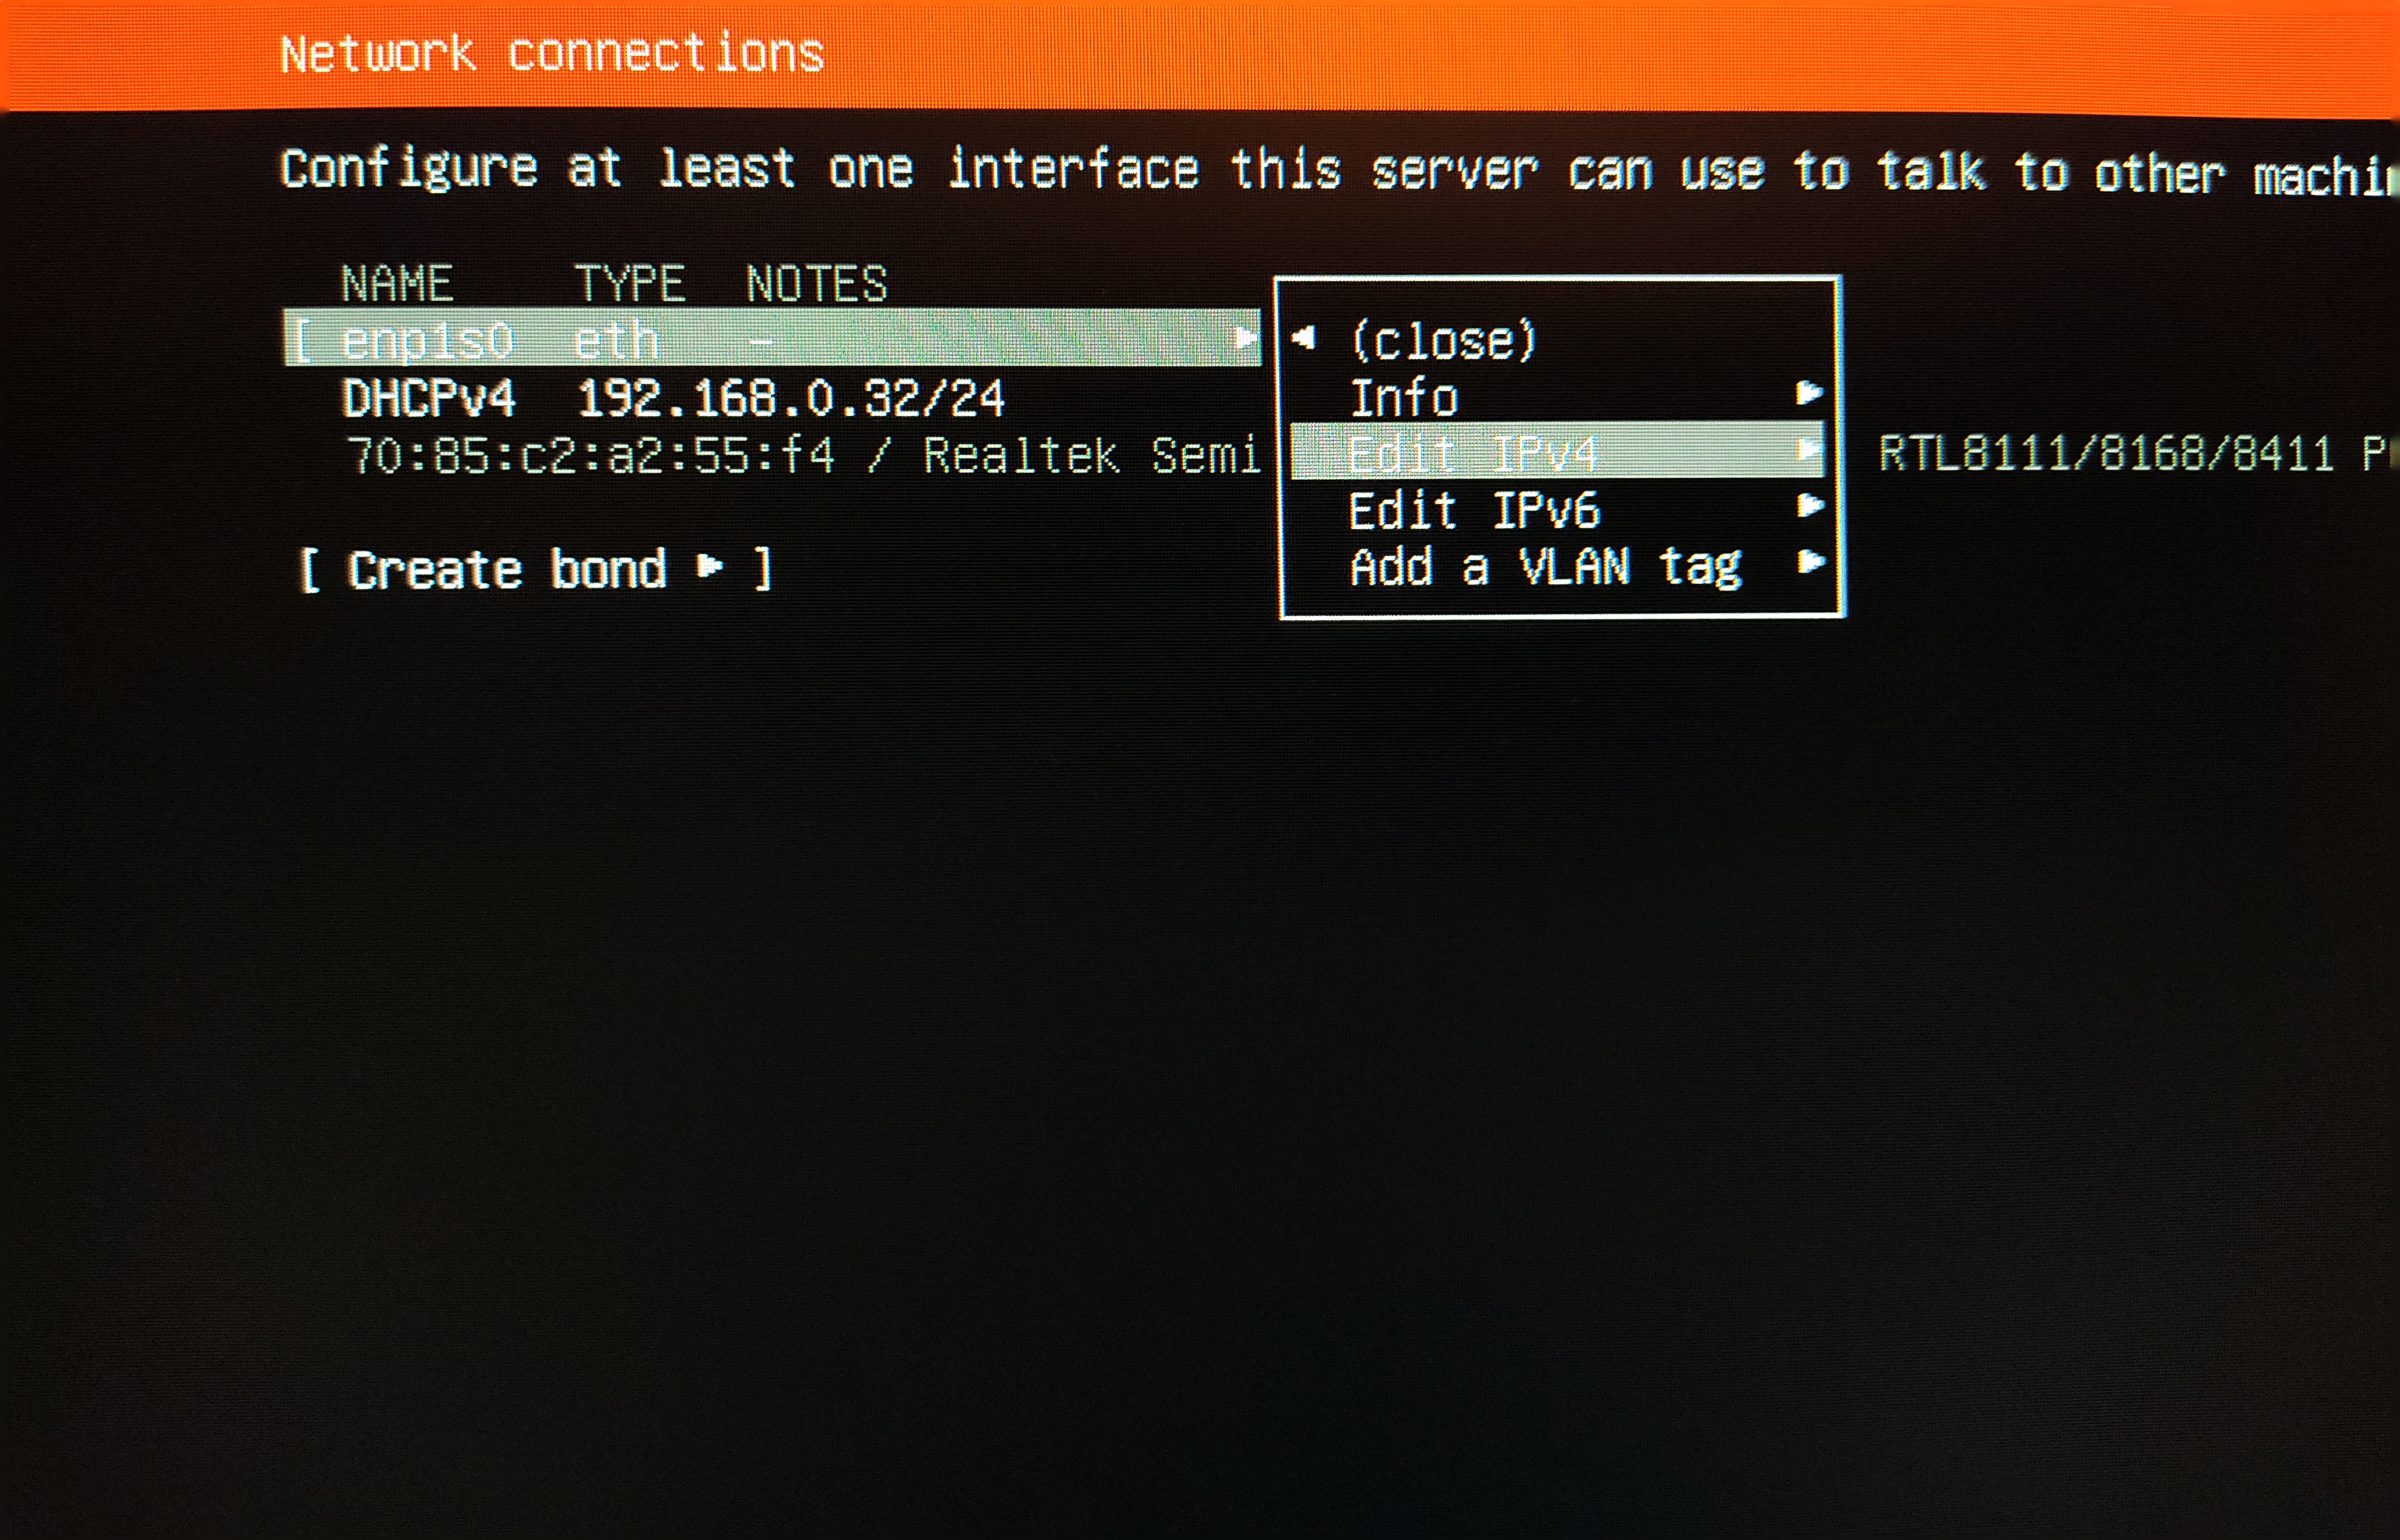
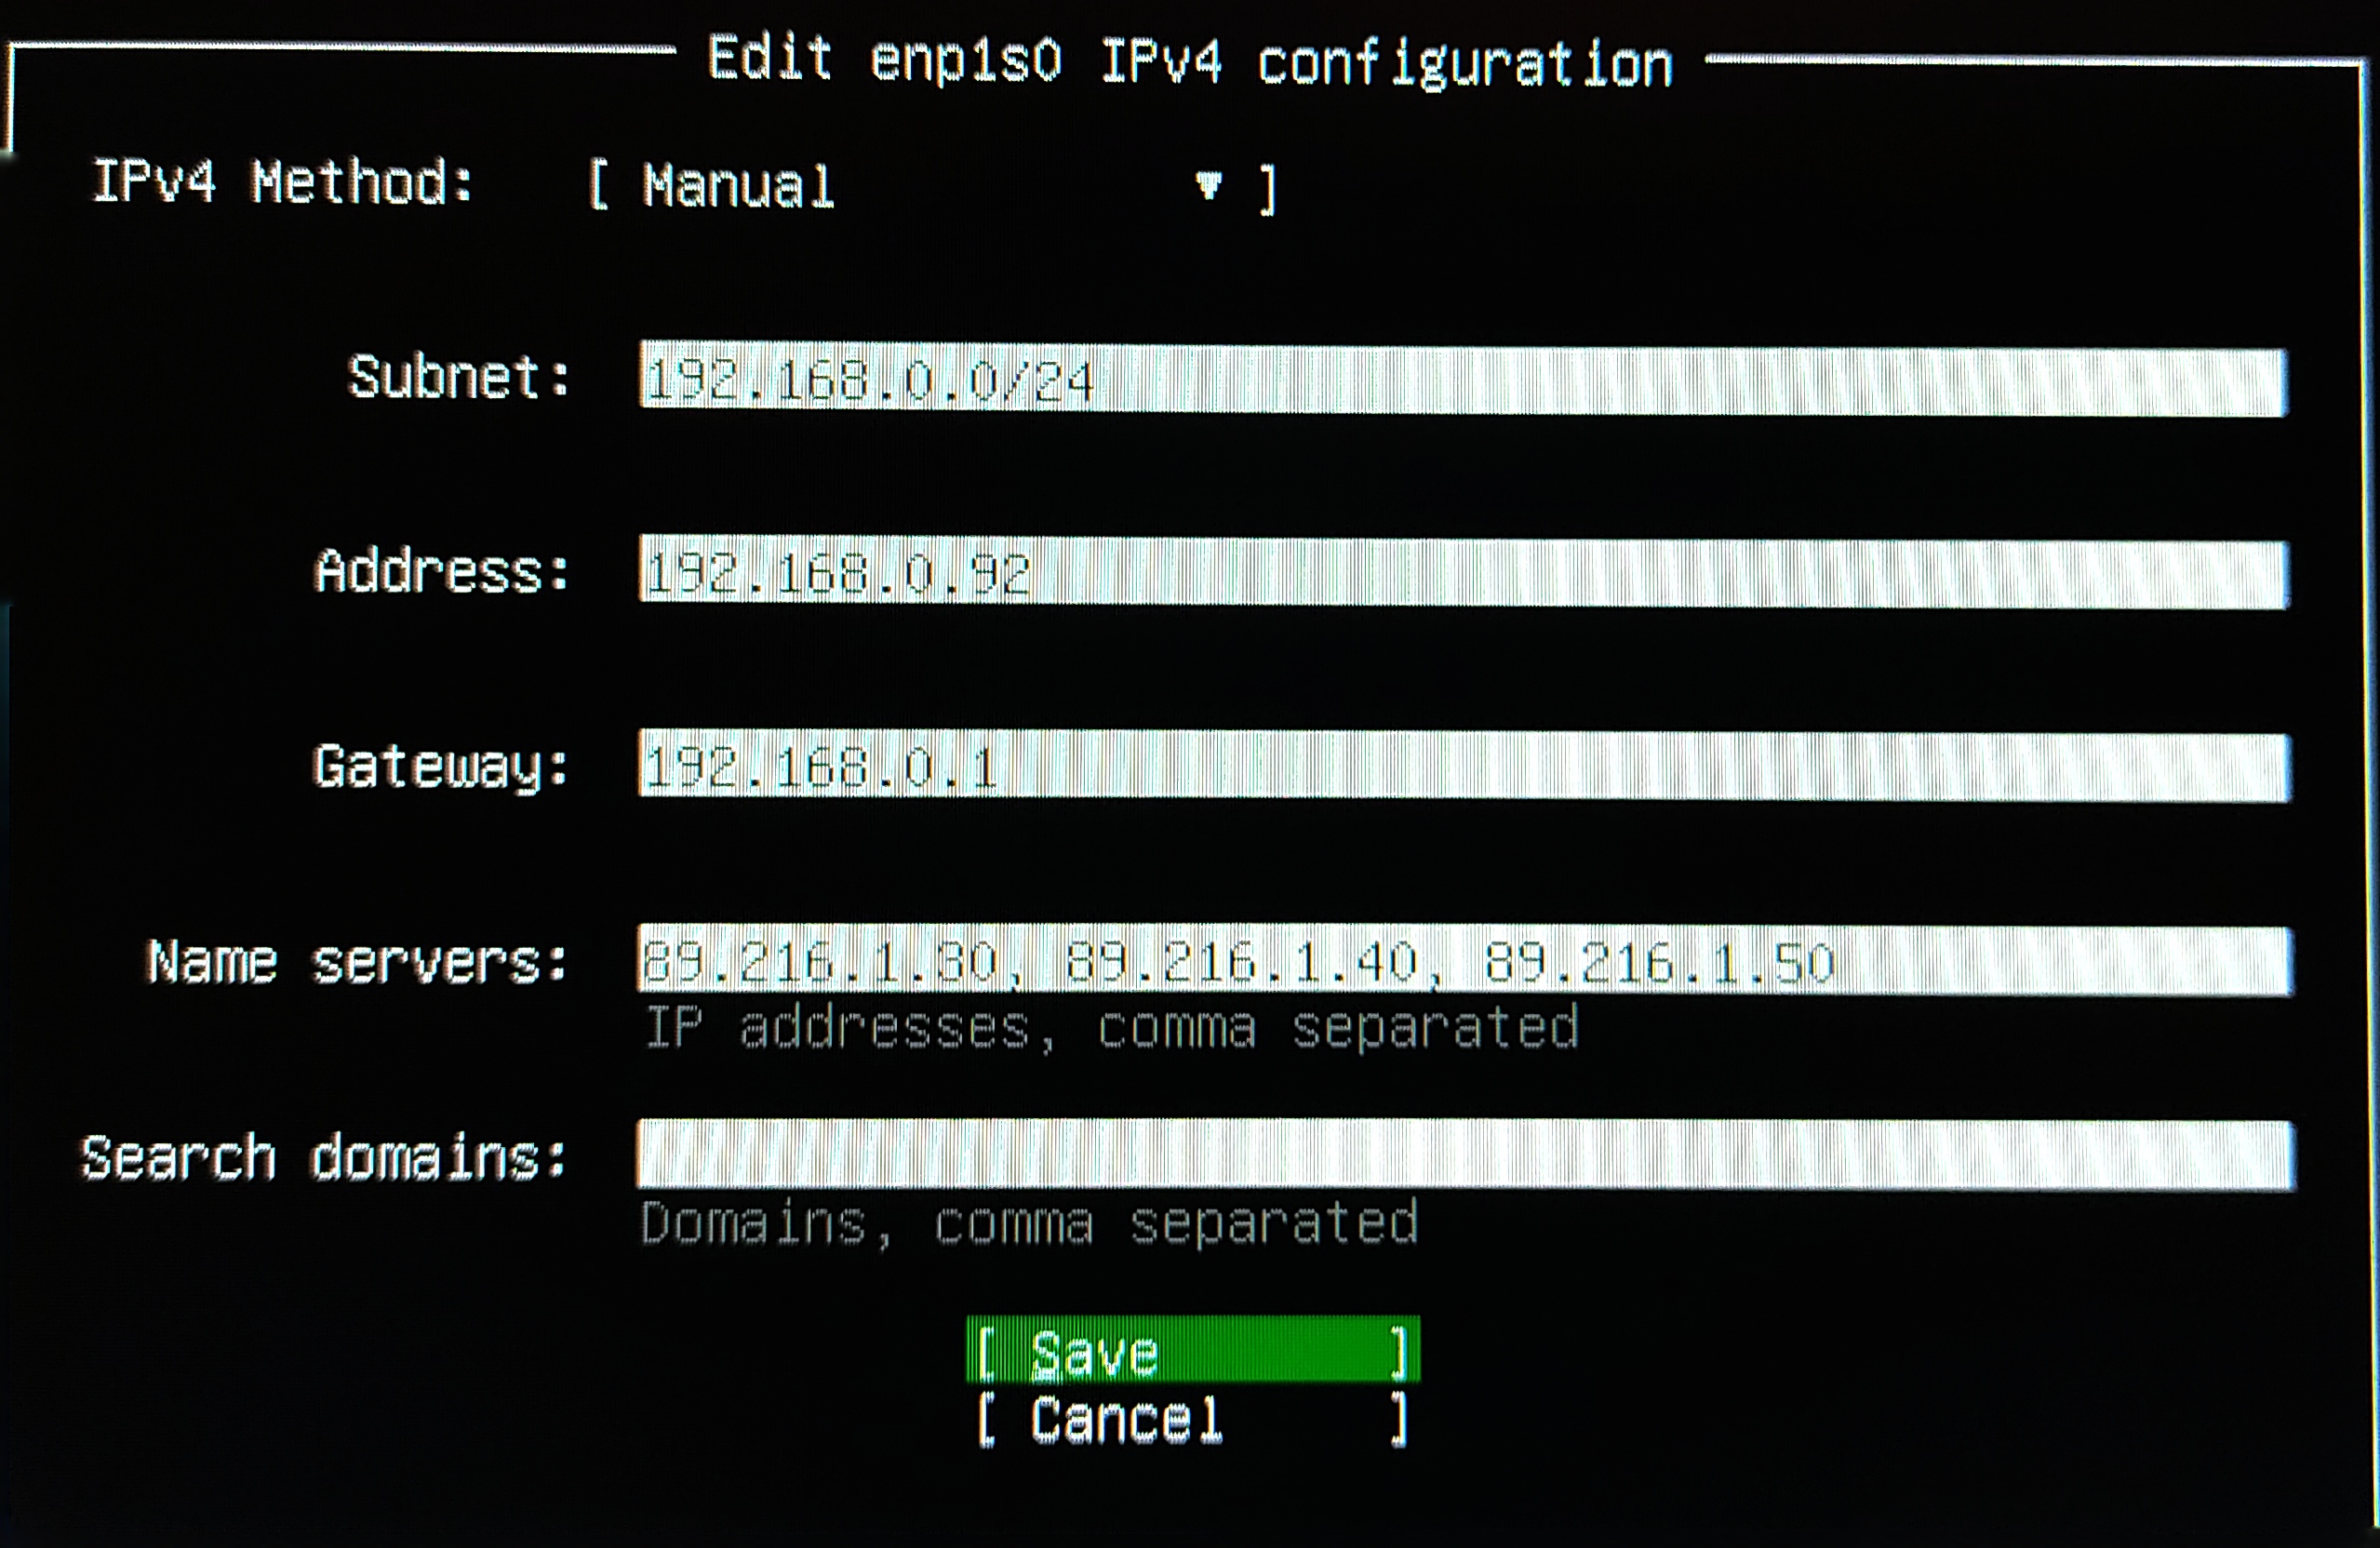
To change the configuration to use a static IP address, the following changes need to be made:

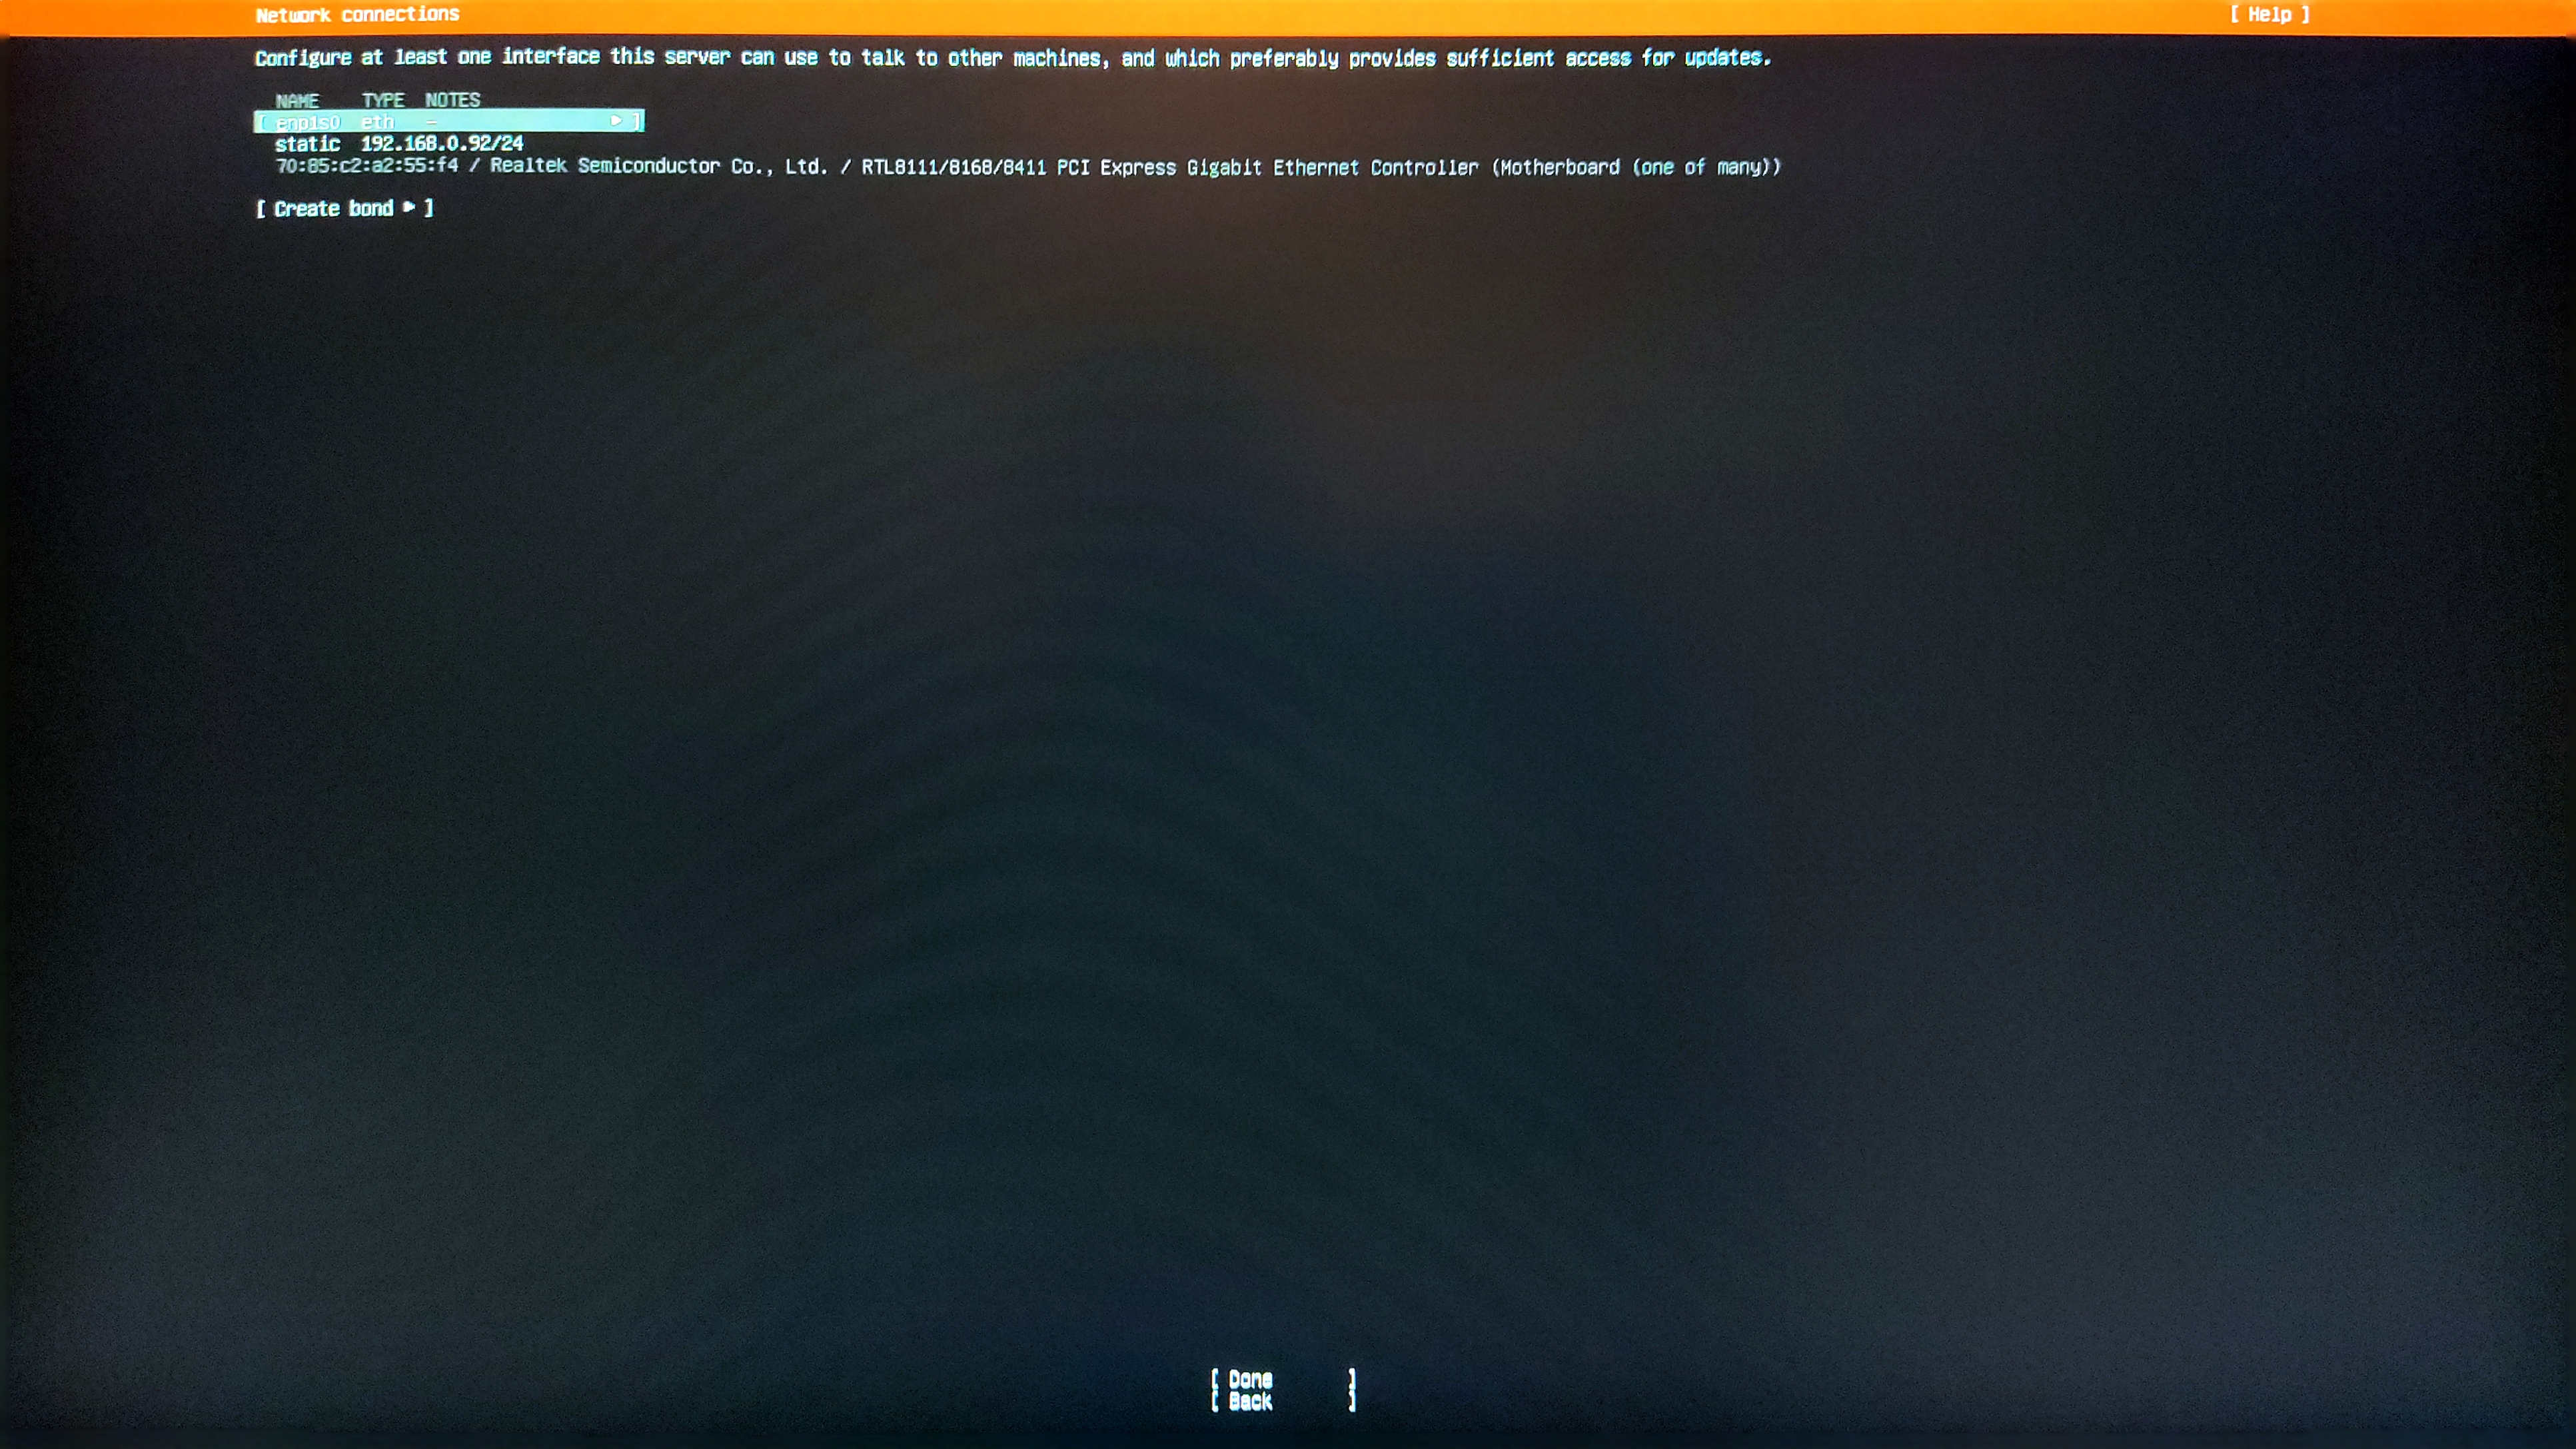
After the changes have been made on the server side, it can be checked on the router that the server indeed uses the static IP address.

It can be seen in the picture that the server is indeed using the IP address of 192.168.0.92 as it was instructed. At this point, it would be a good idea to set up a Static Lease on the router for that static IP address so that the router doesn’t assign that address to another device while the server is powered off which would create a conflict in the DHCP table of the router after the server gets powered back on leaving the server unable to connect to the router.
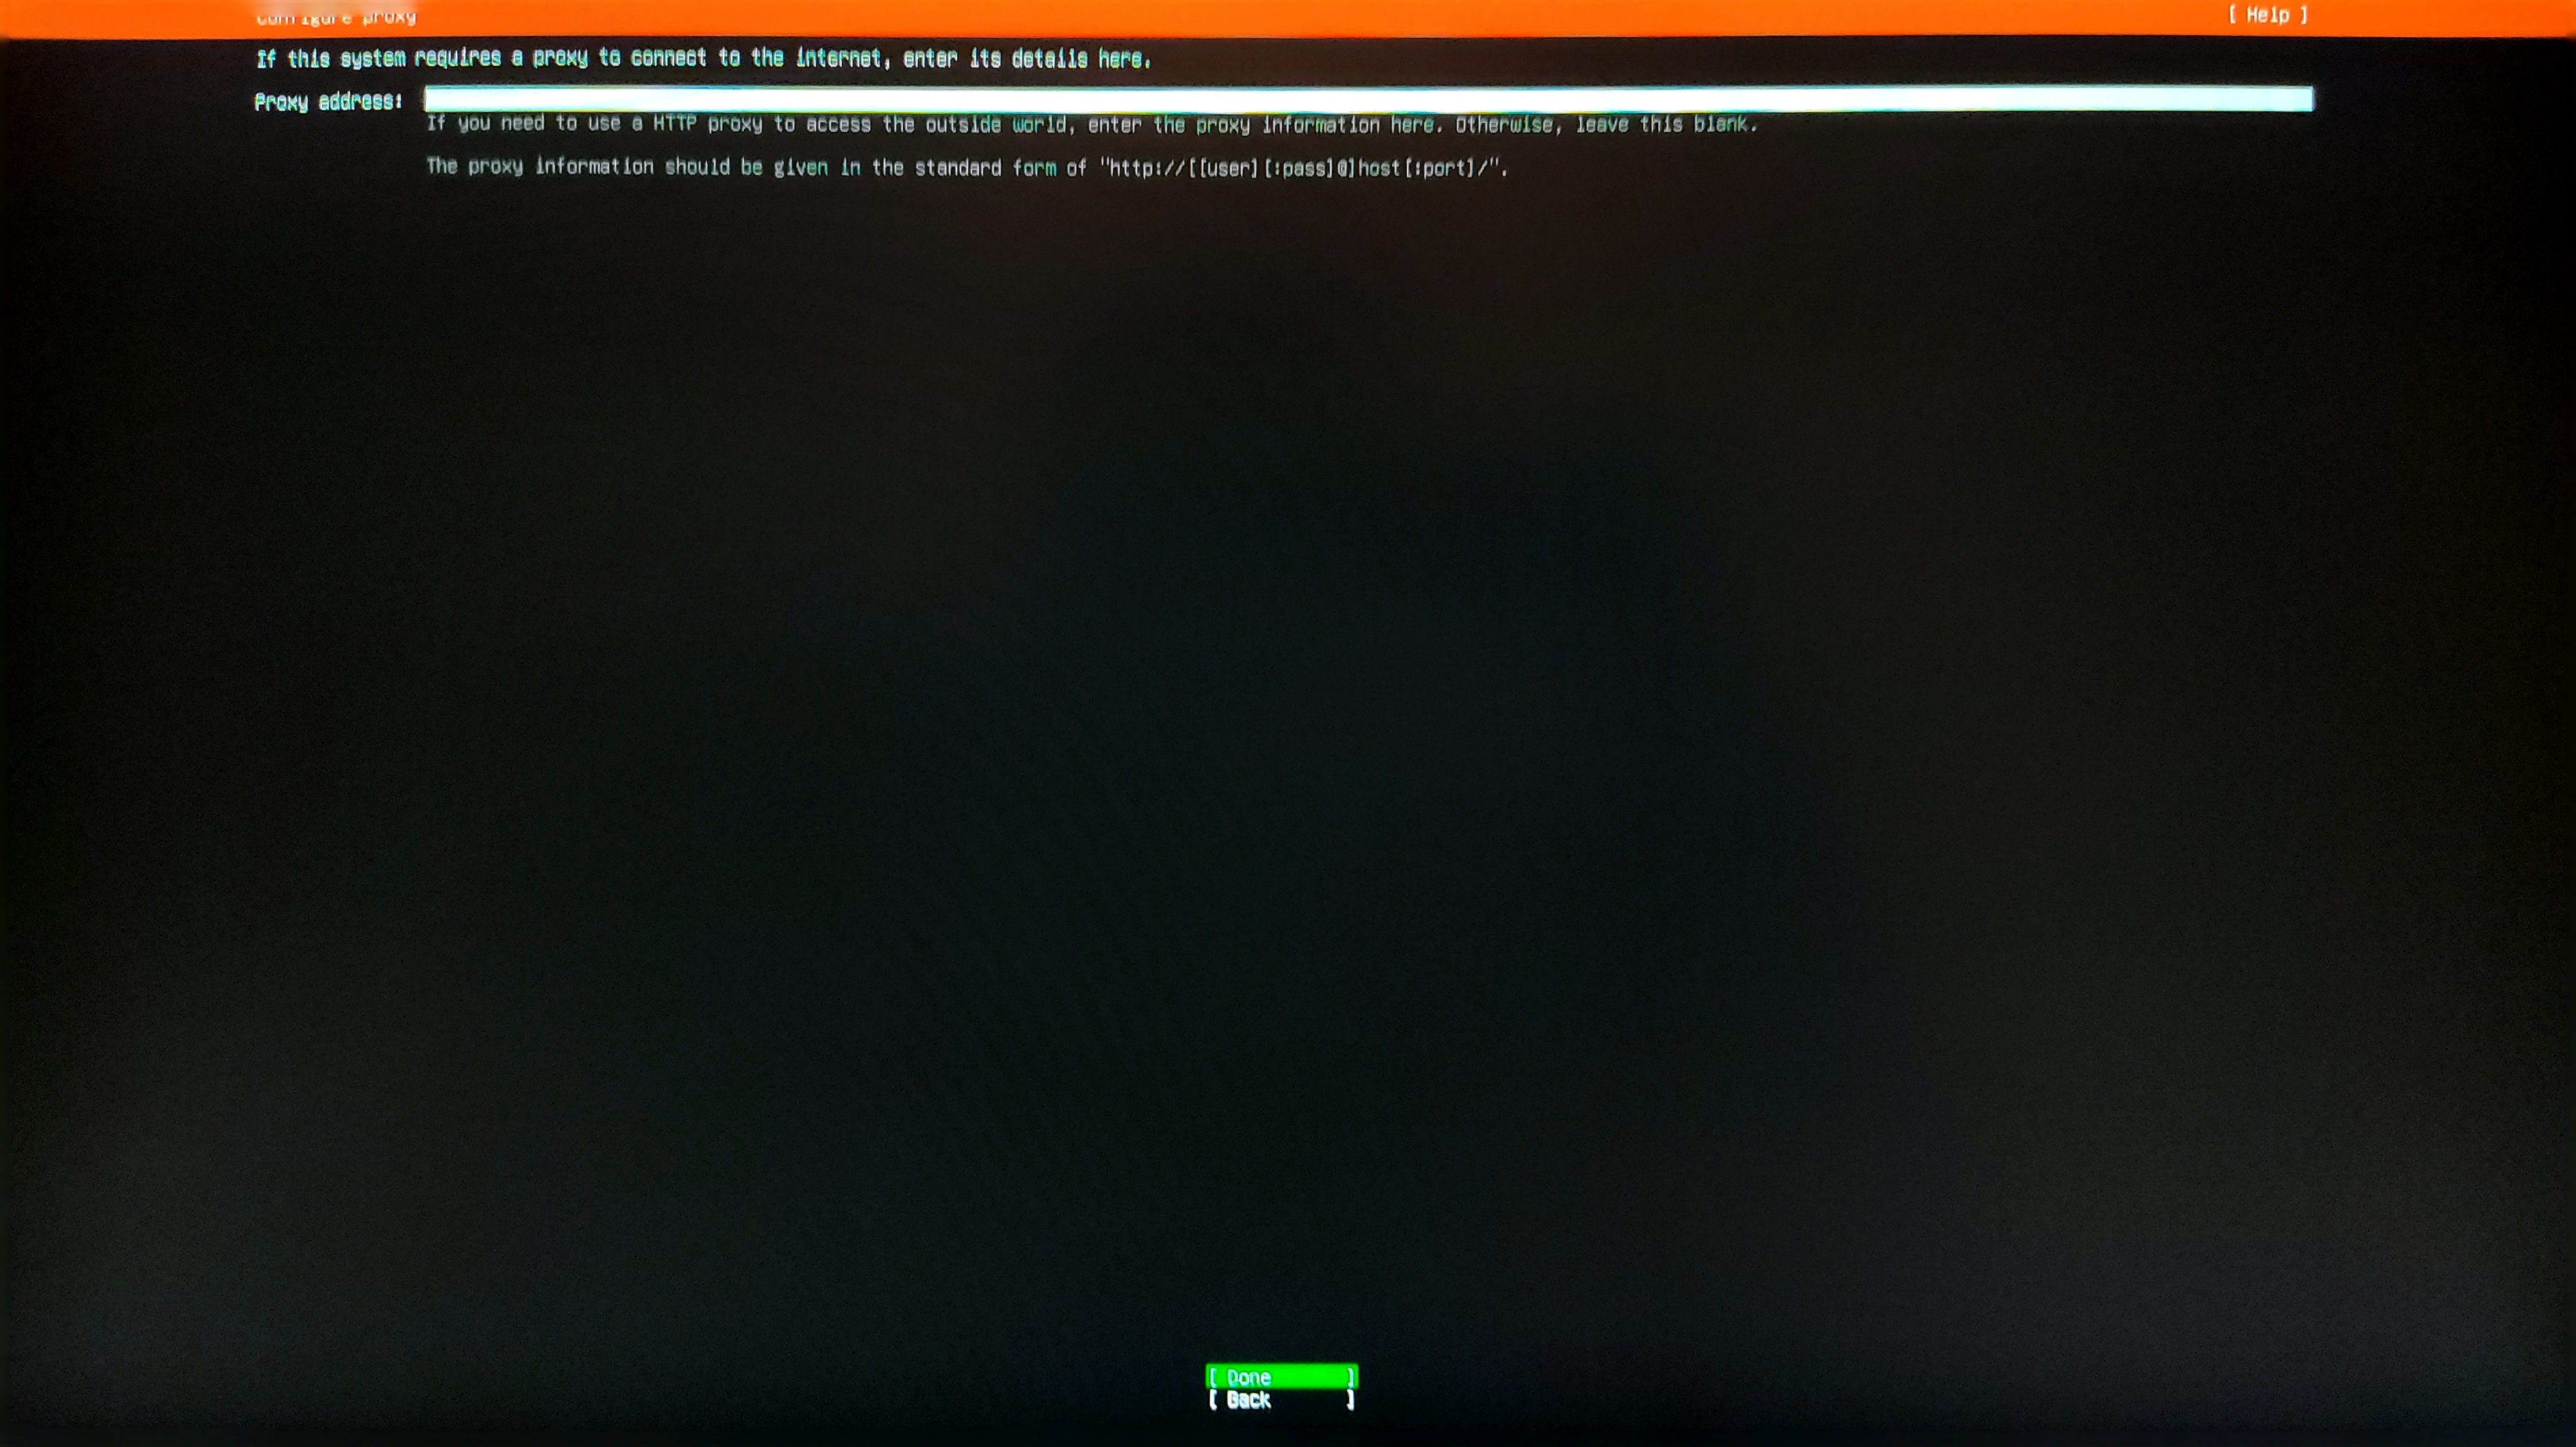
After this has been setup, the user is prompted to enter the details regarding the Proxy it is using. Since the proxy isn’t used in this example, Done can be selected.
Next, the Ubuntu mirror servers are checked. If everything is set up correctly regarding the network, this test passes and Done can be selected.

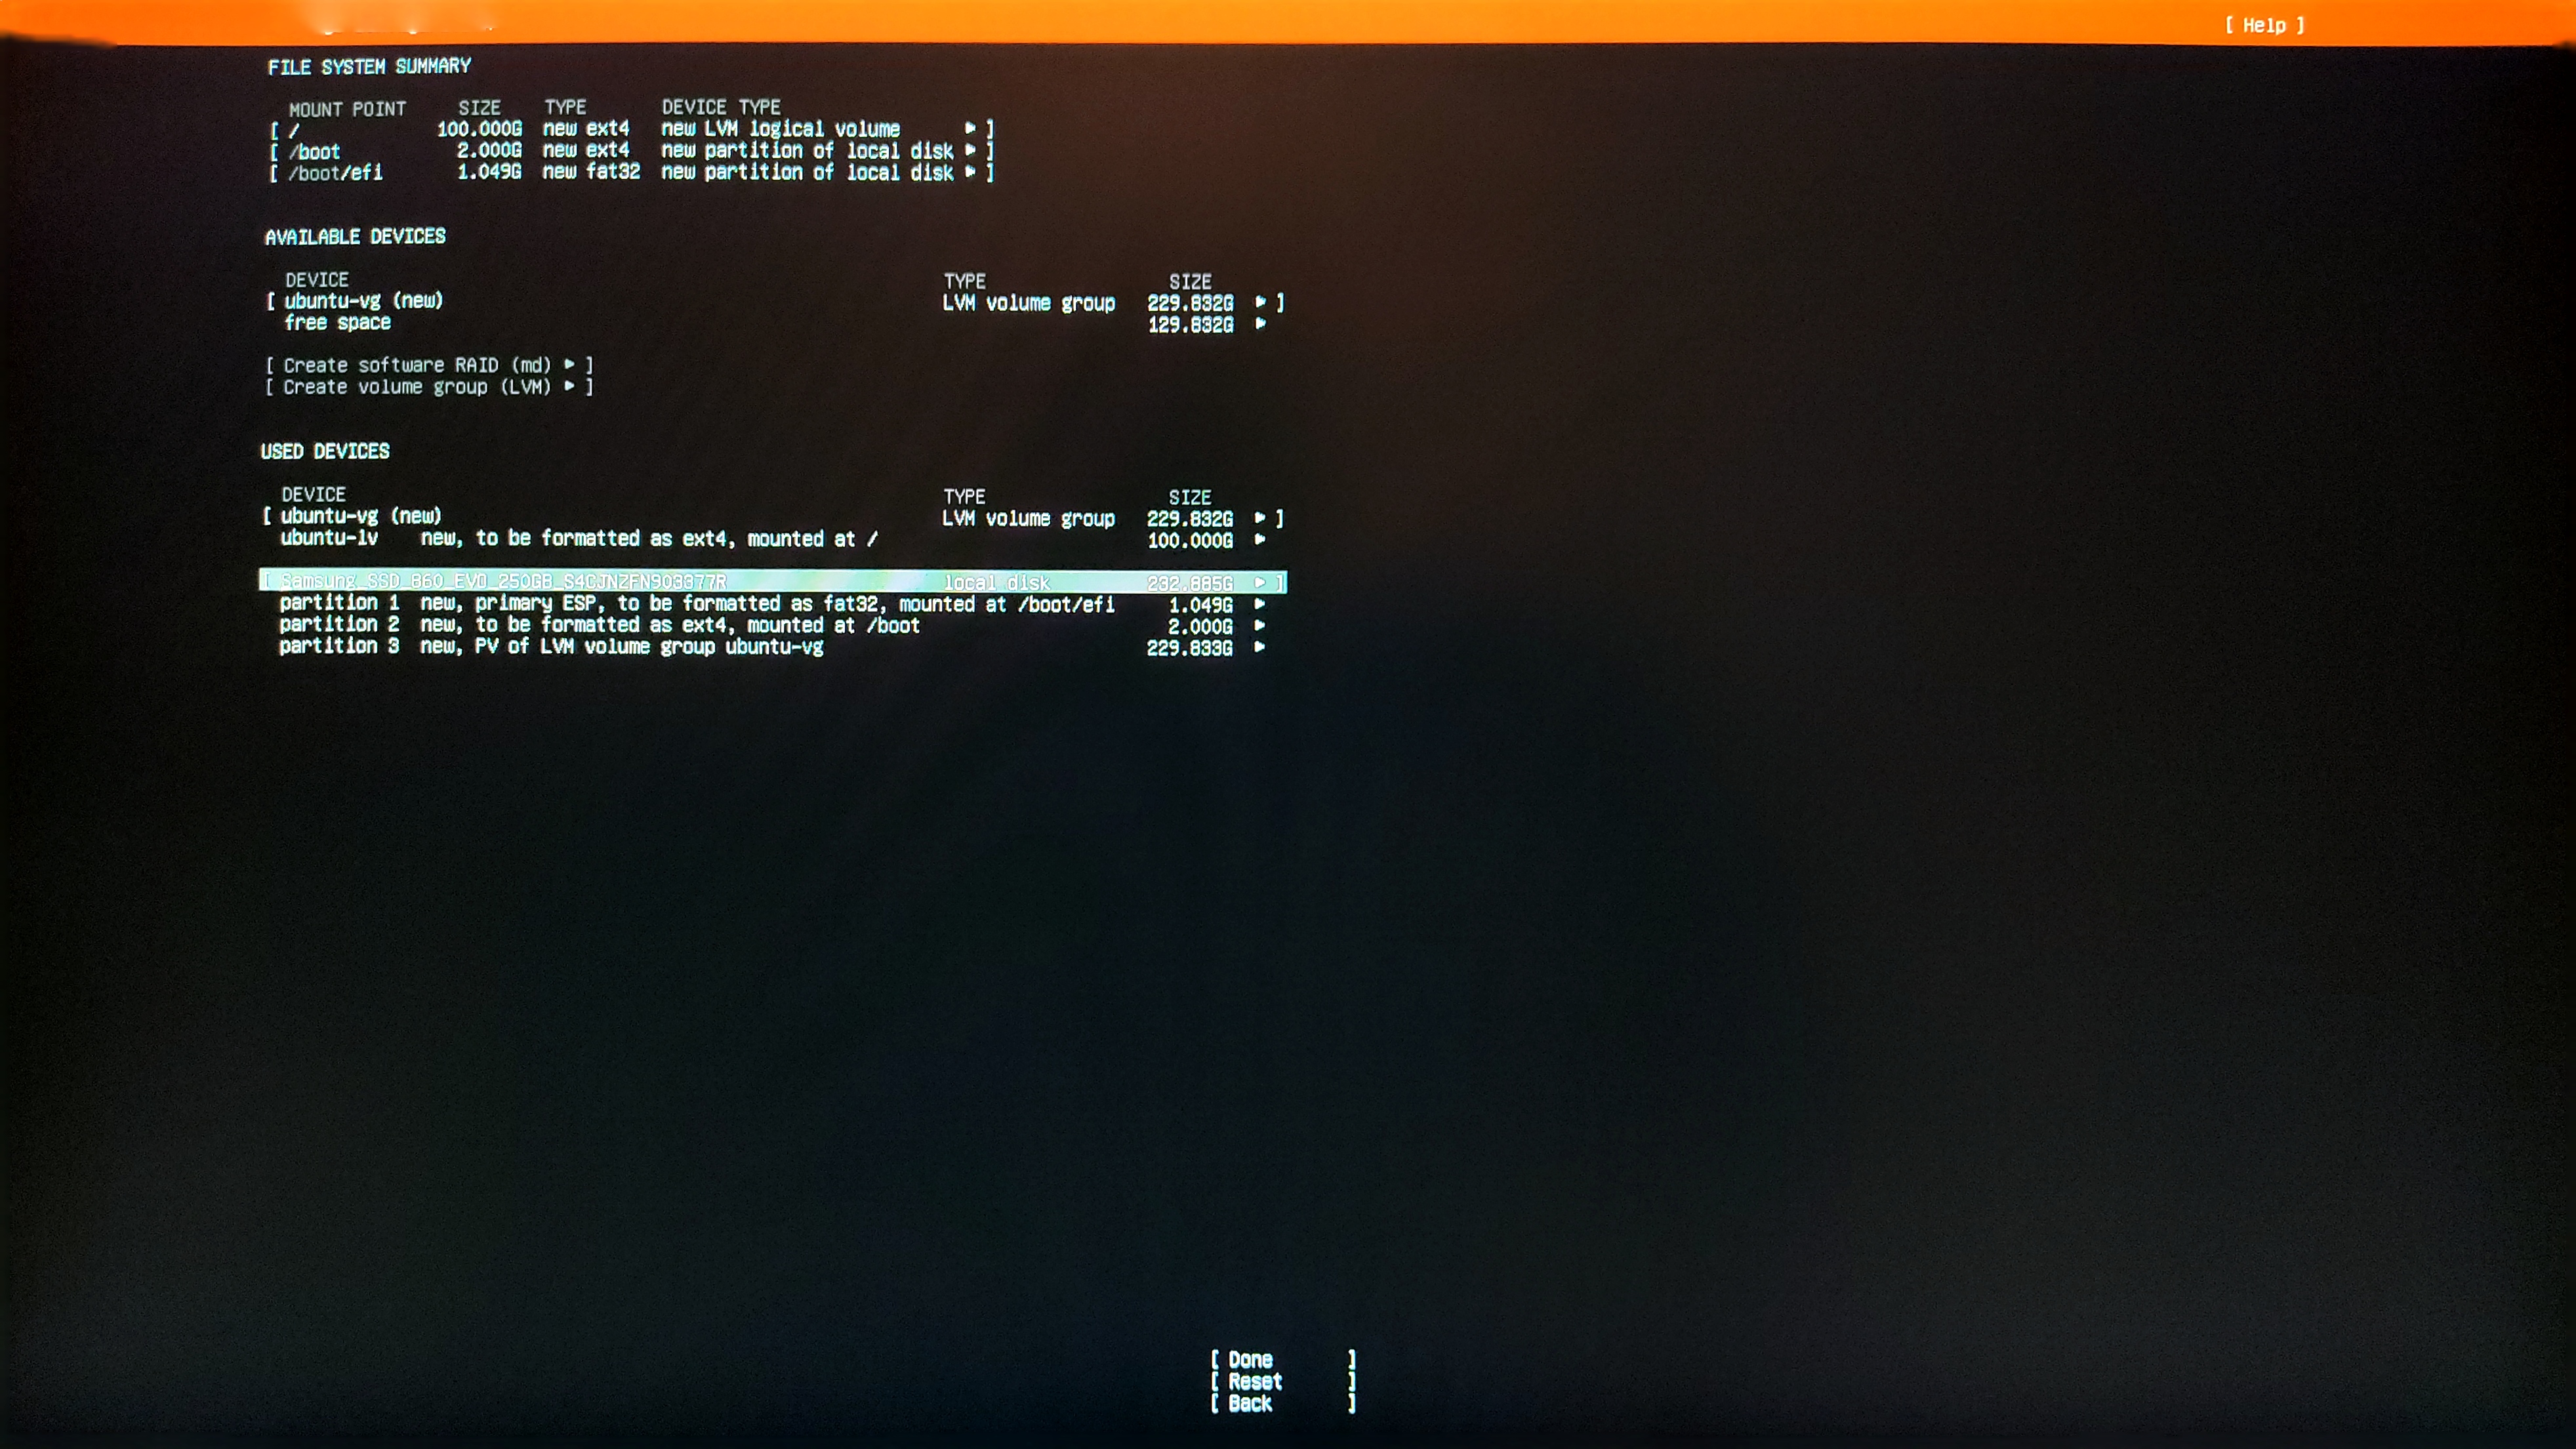
Next, the user is prompted to format and configure the boot drive as well as given the option to encrypt it.
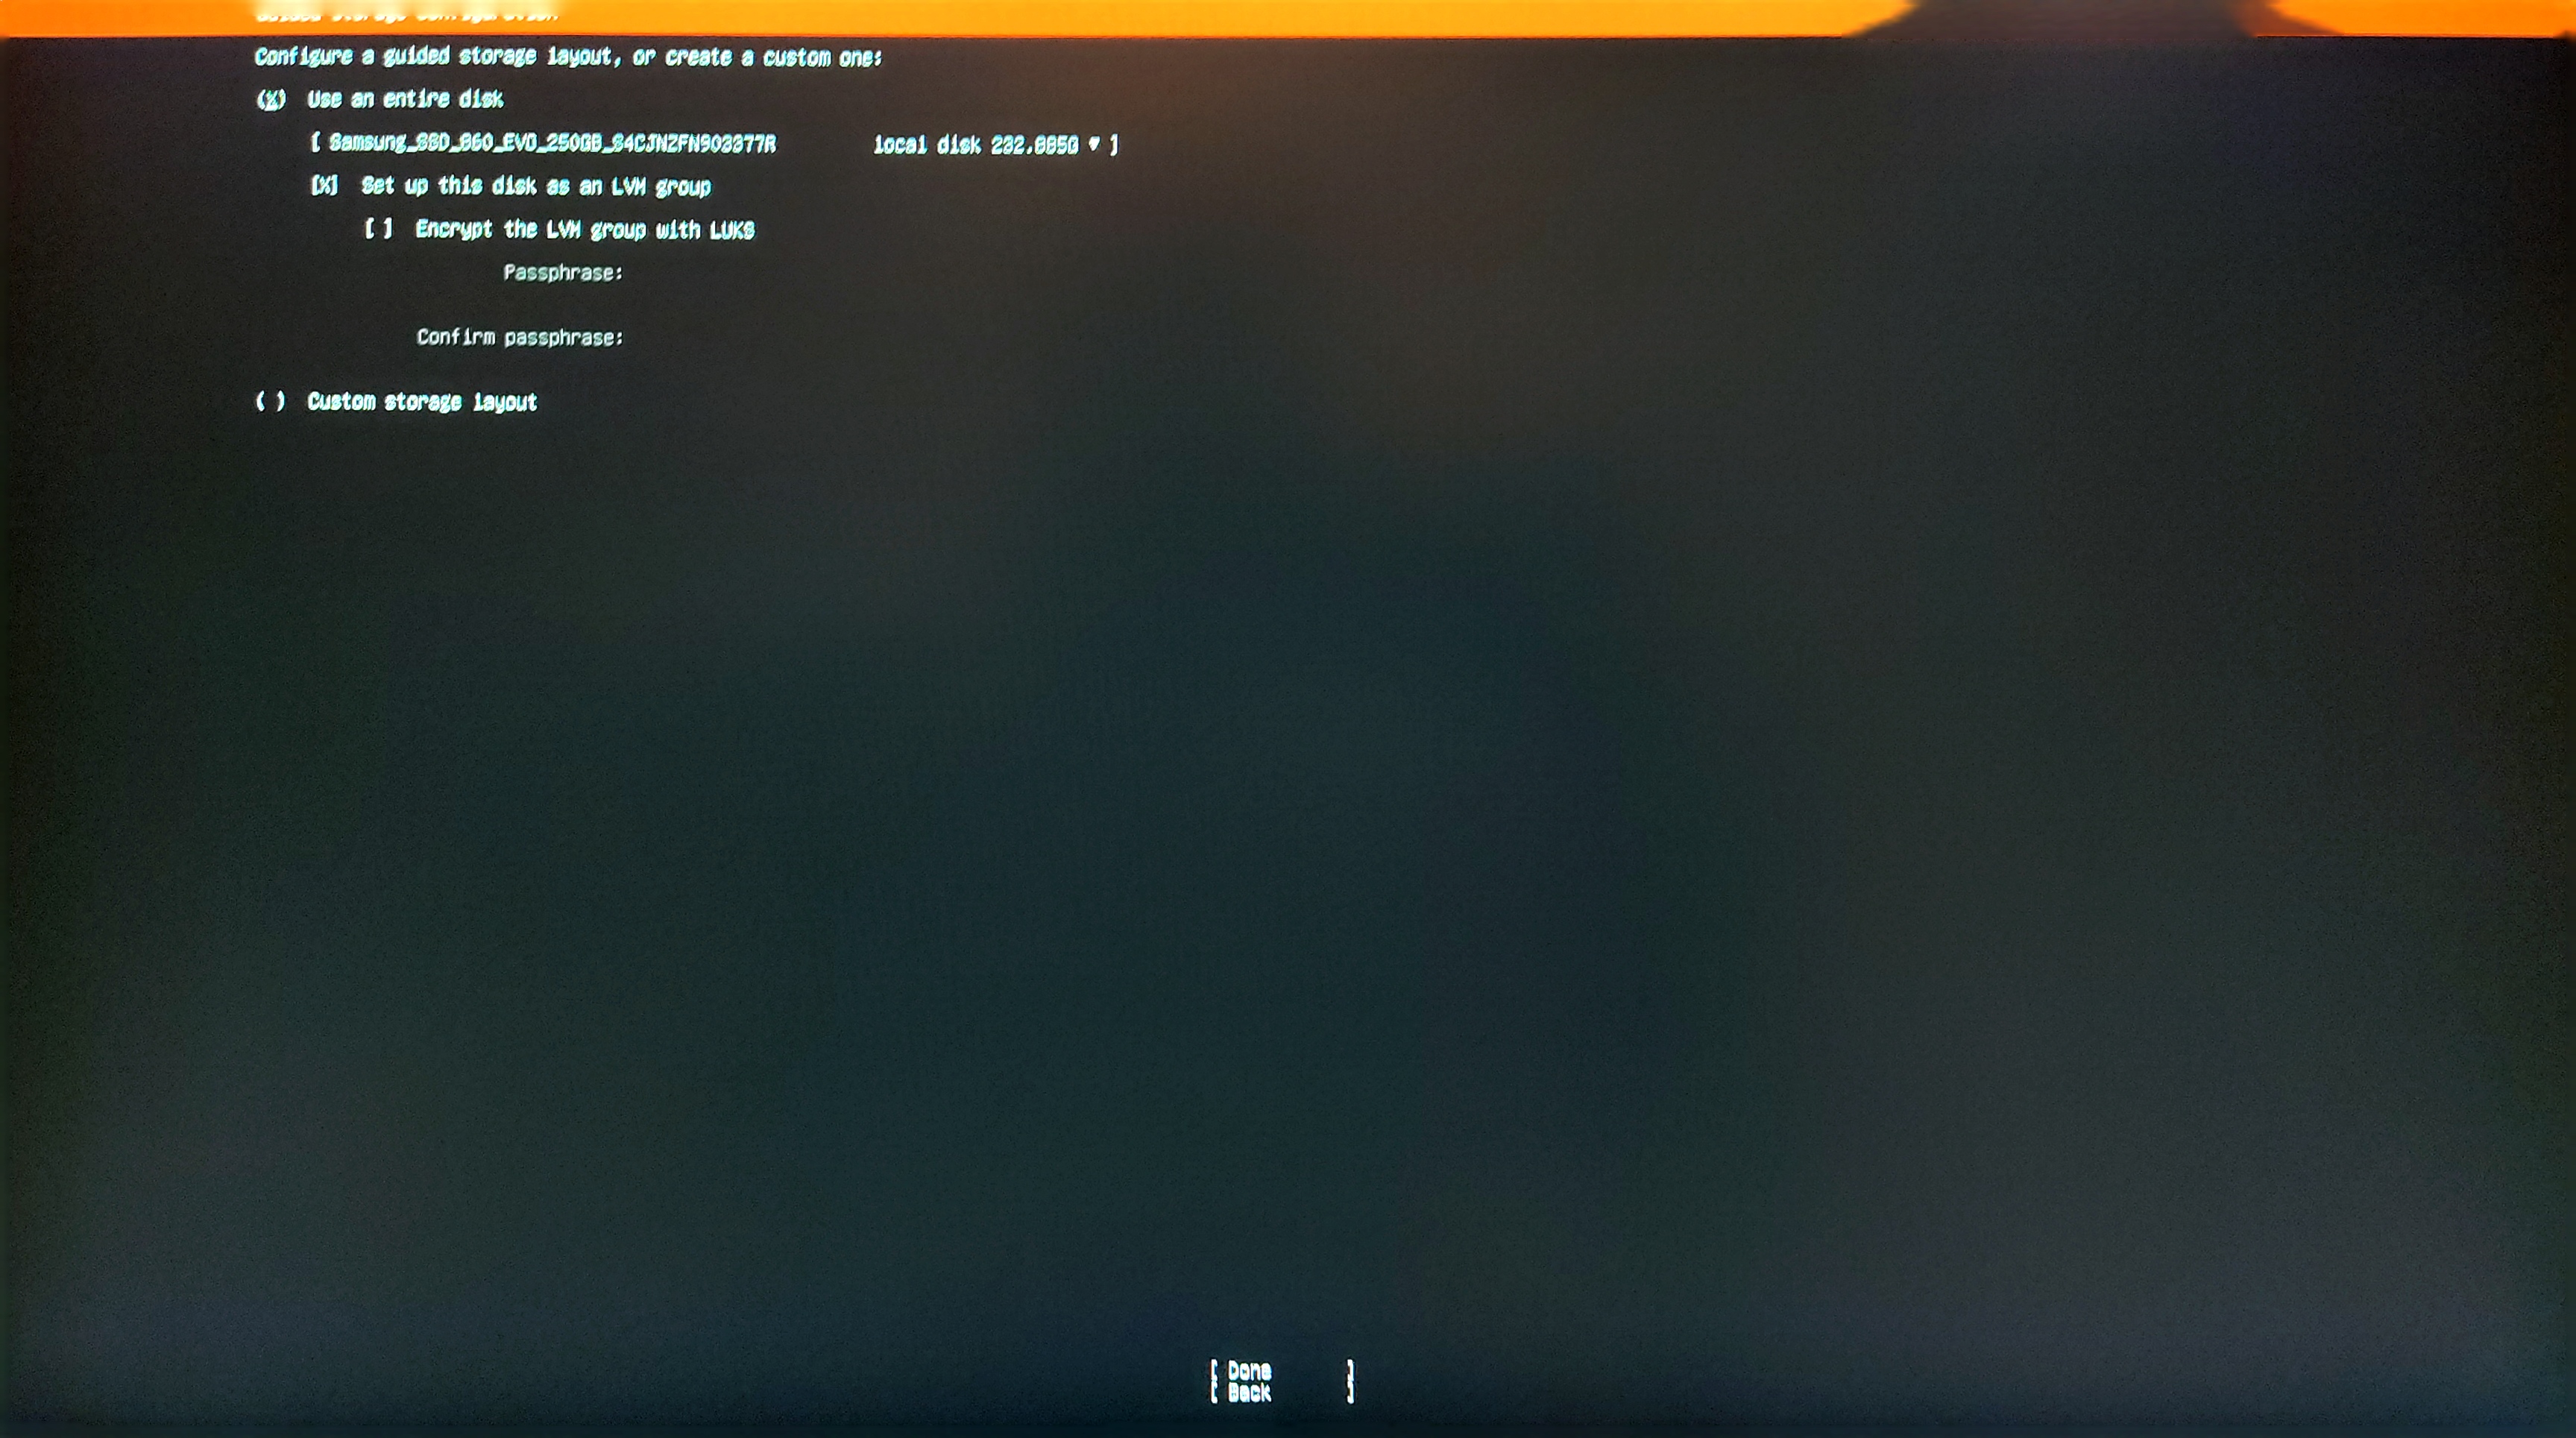
The following configuration has been used:
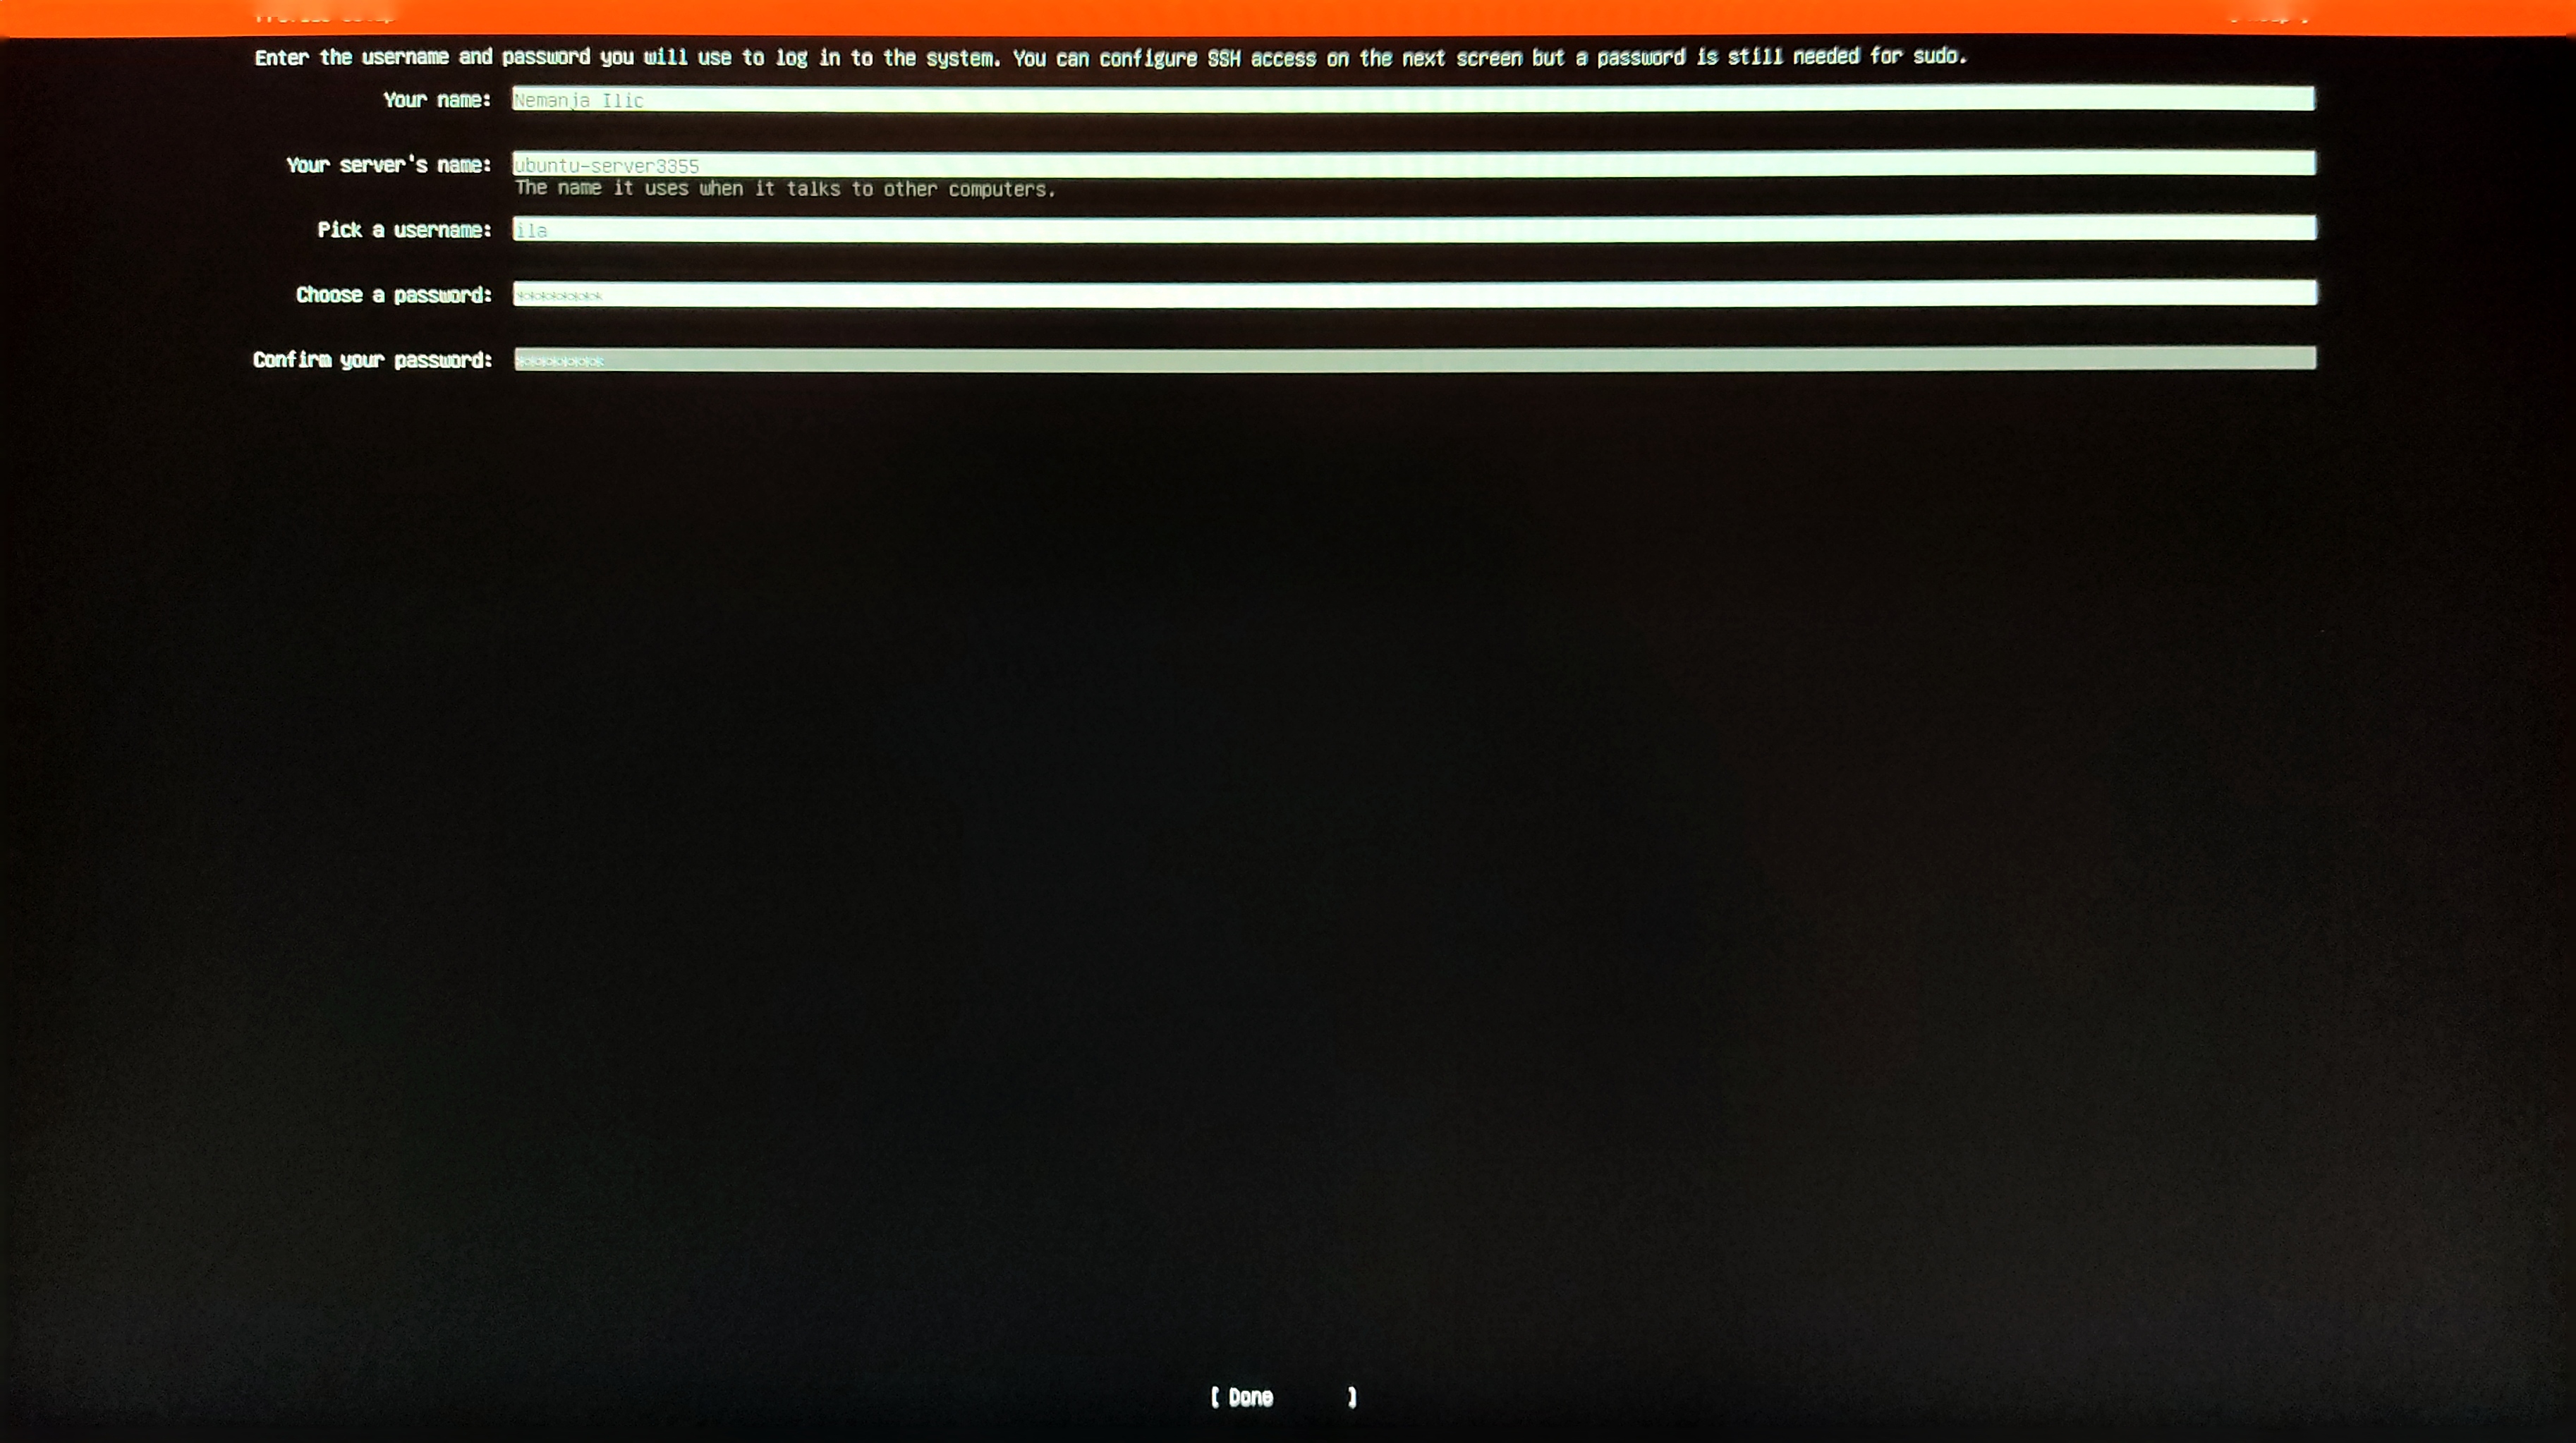
After that, the server can be named and given a username and a password.
Ubuntu offers an option to enable and try the Ubuntu Pro, but since this is a paid feature that is not needed for the things that I plan to do with the server, this shall be skipped with the Skip for now button and selecting Continue.

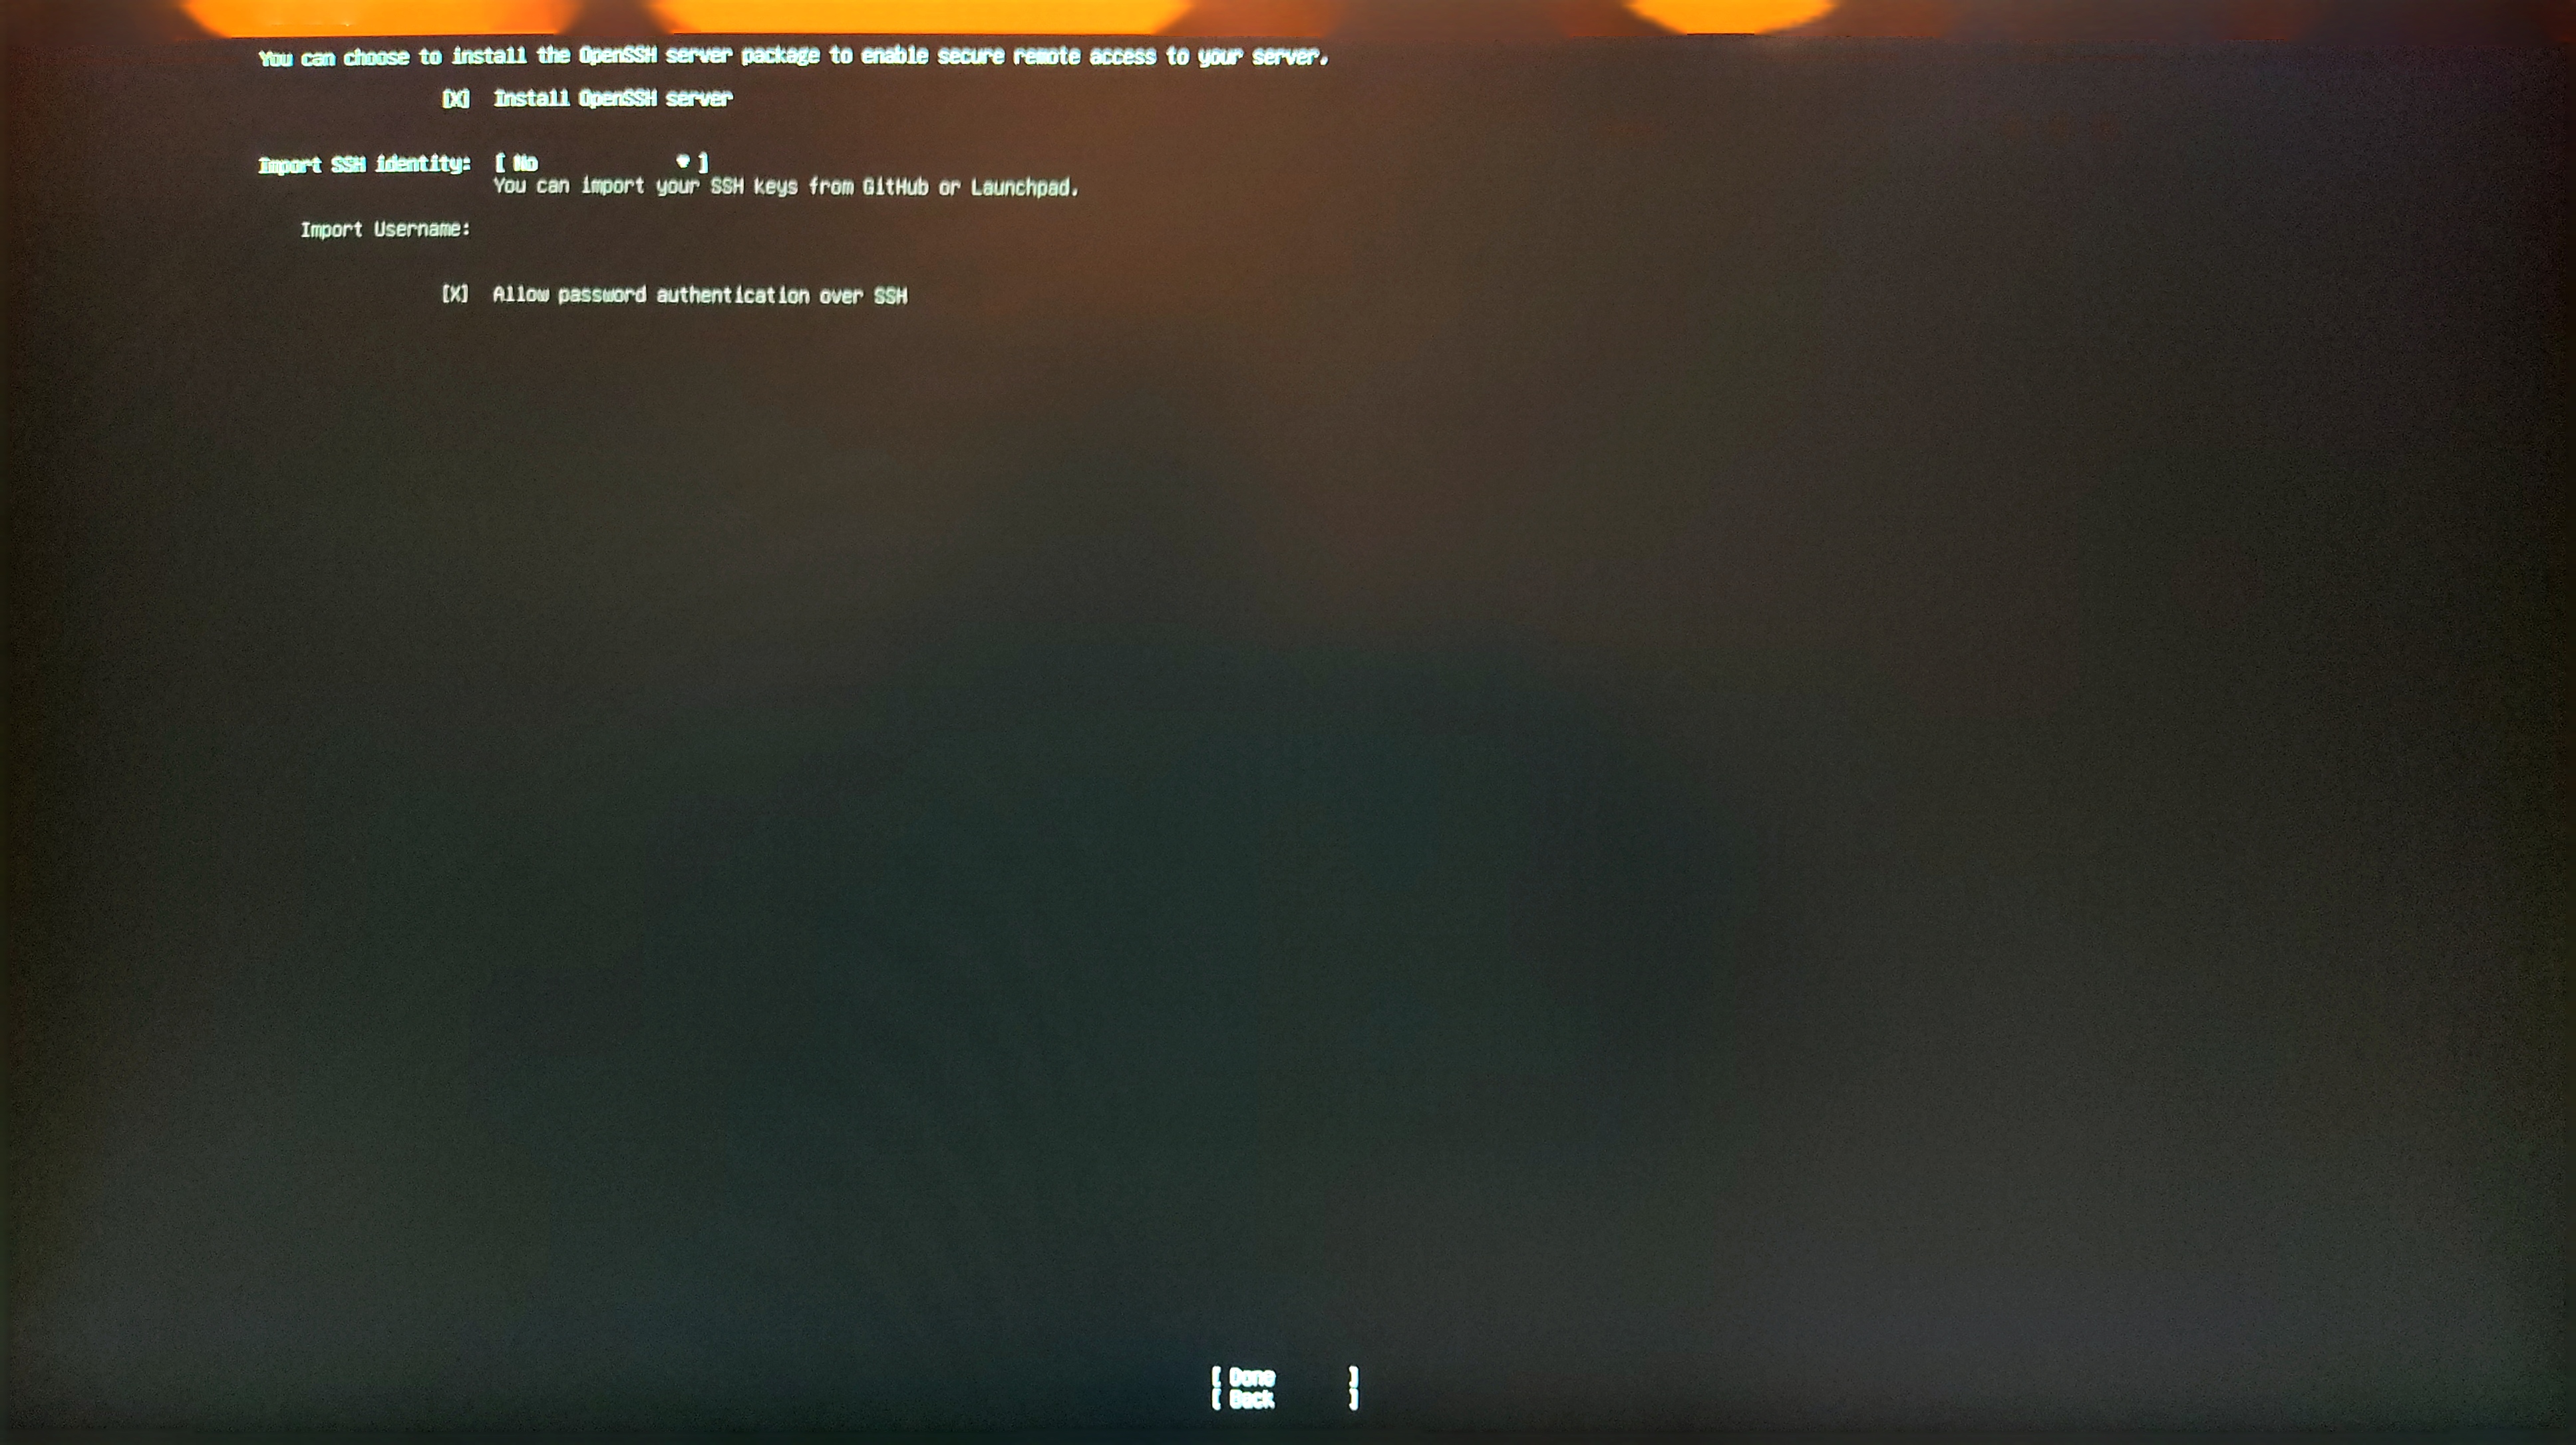
Next, the user is given an opportunity to install the OpenSSH server which will be needed for accessing the server remotely so it should be set up like in the given picture below:
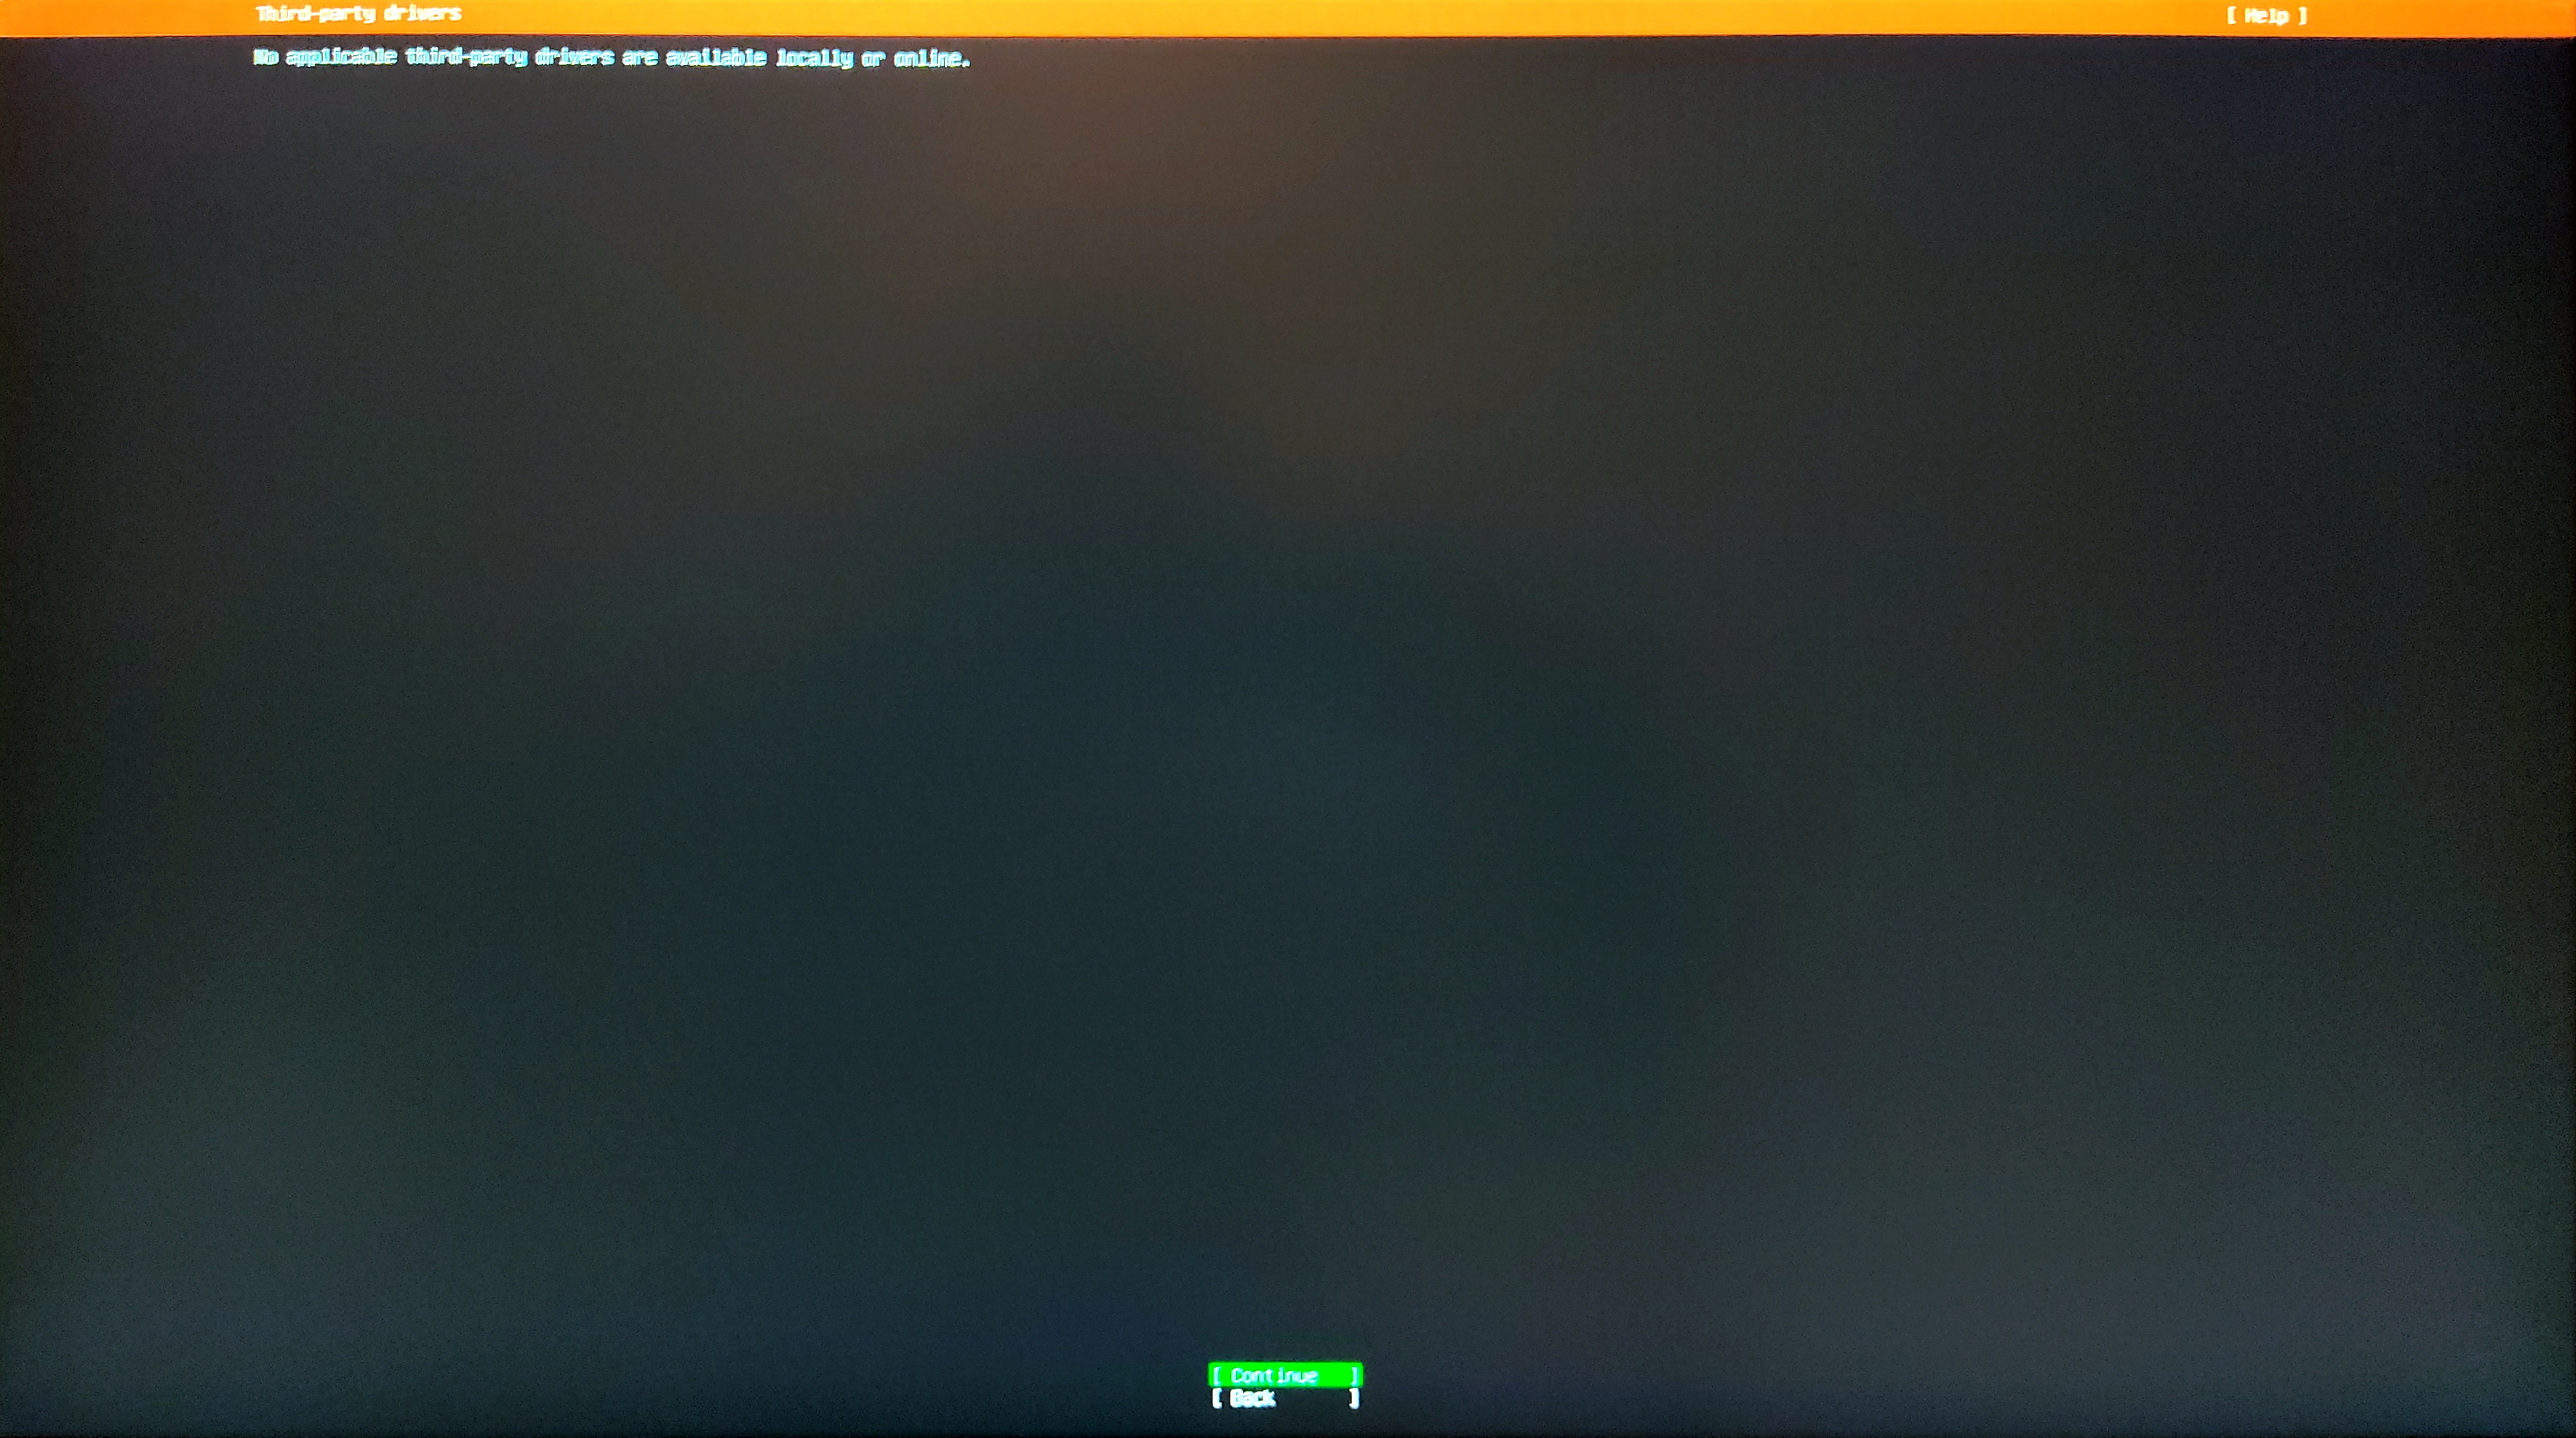
By this stage, the selected check for the Third-party drivers will have already finished. In the server that is used, no third-party drivers are needed as depicted by the picture below:
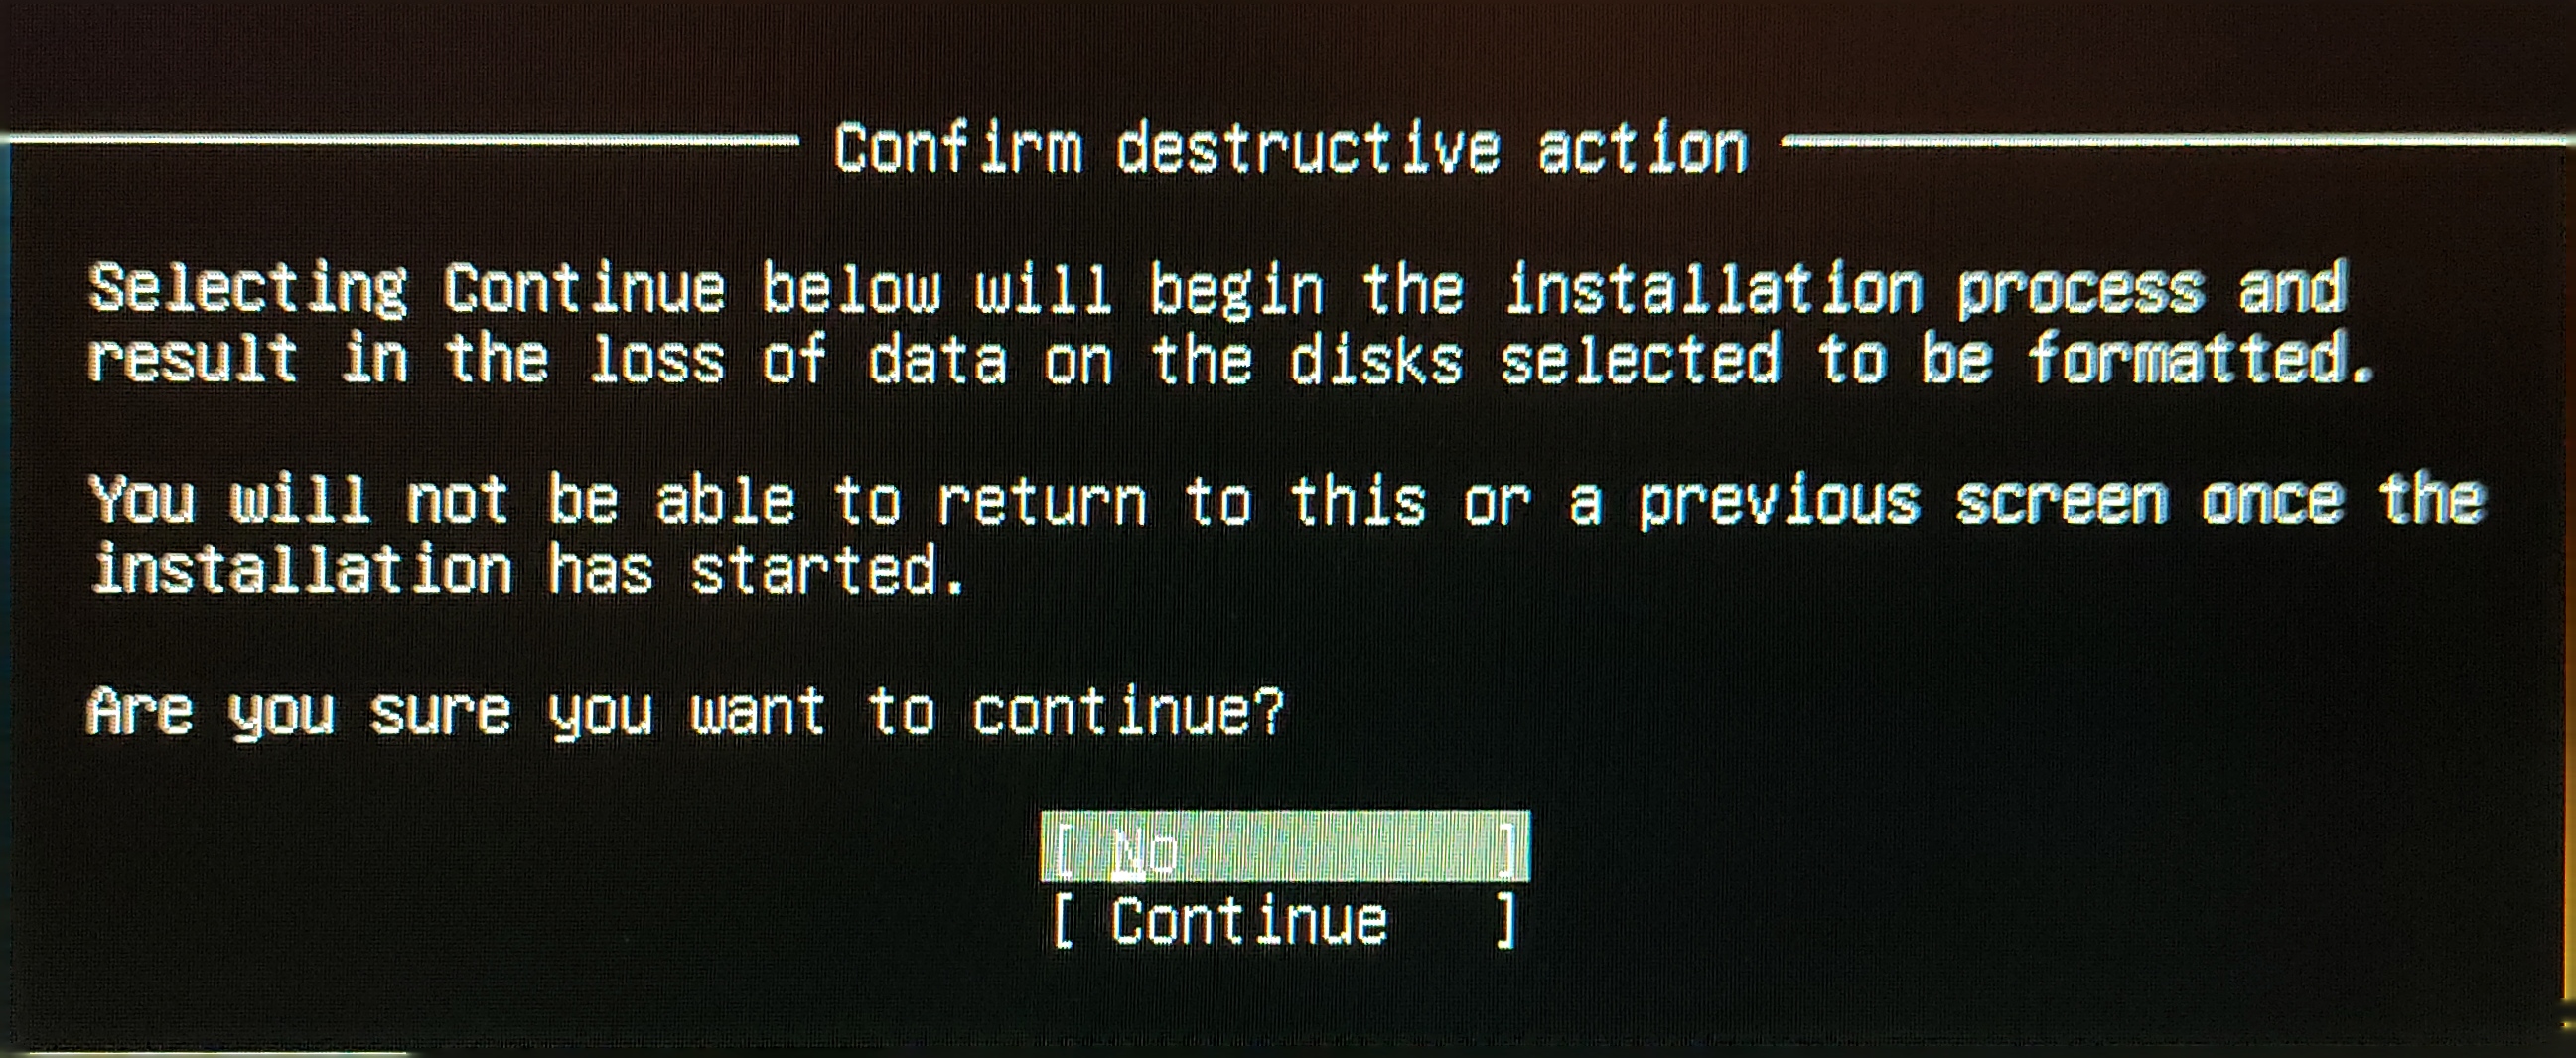
After this, the installation will be started and it can take anywhere from a couple of minutes up to over an hour depending on the hardware used.
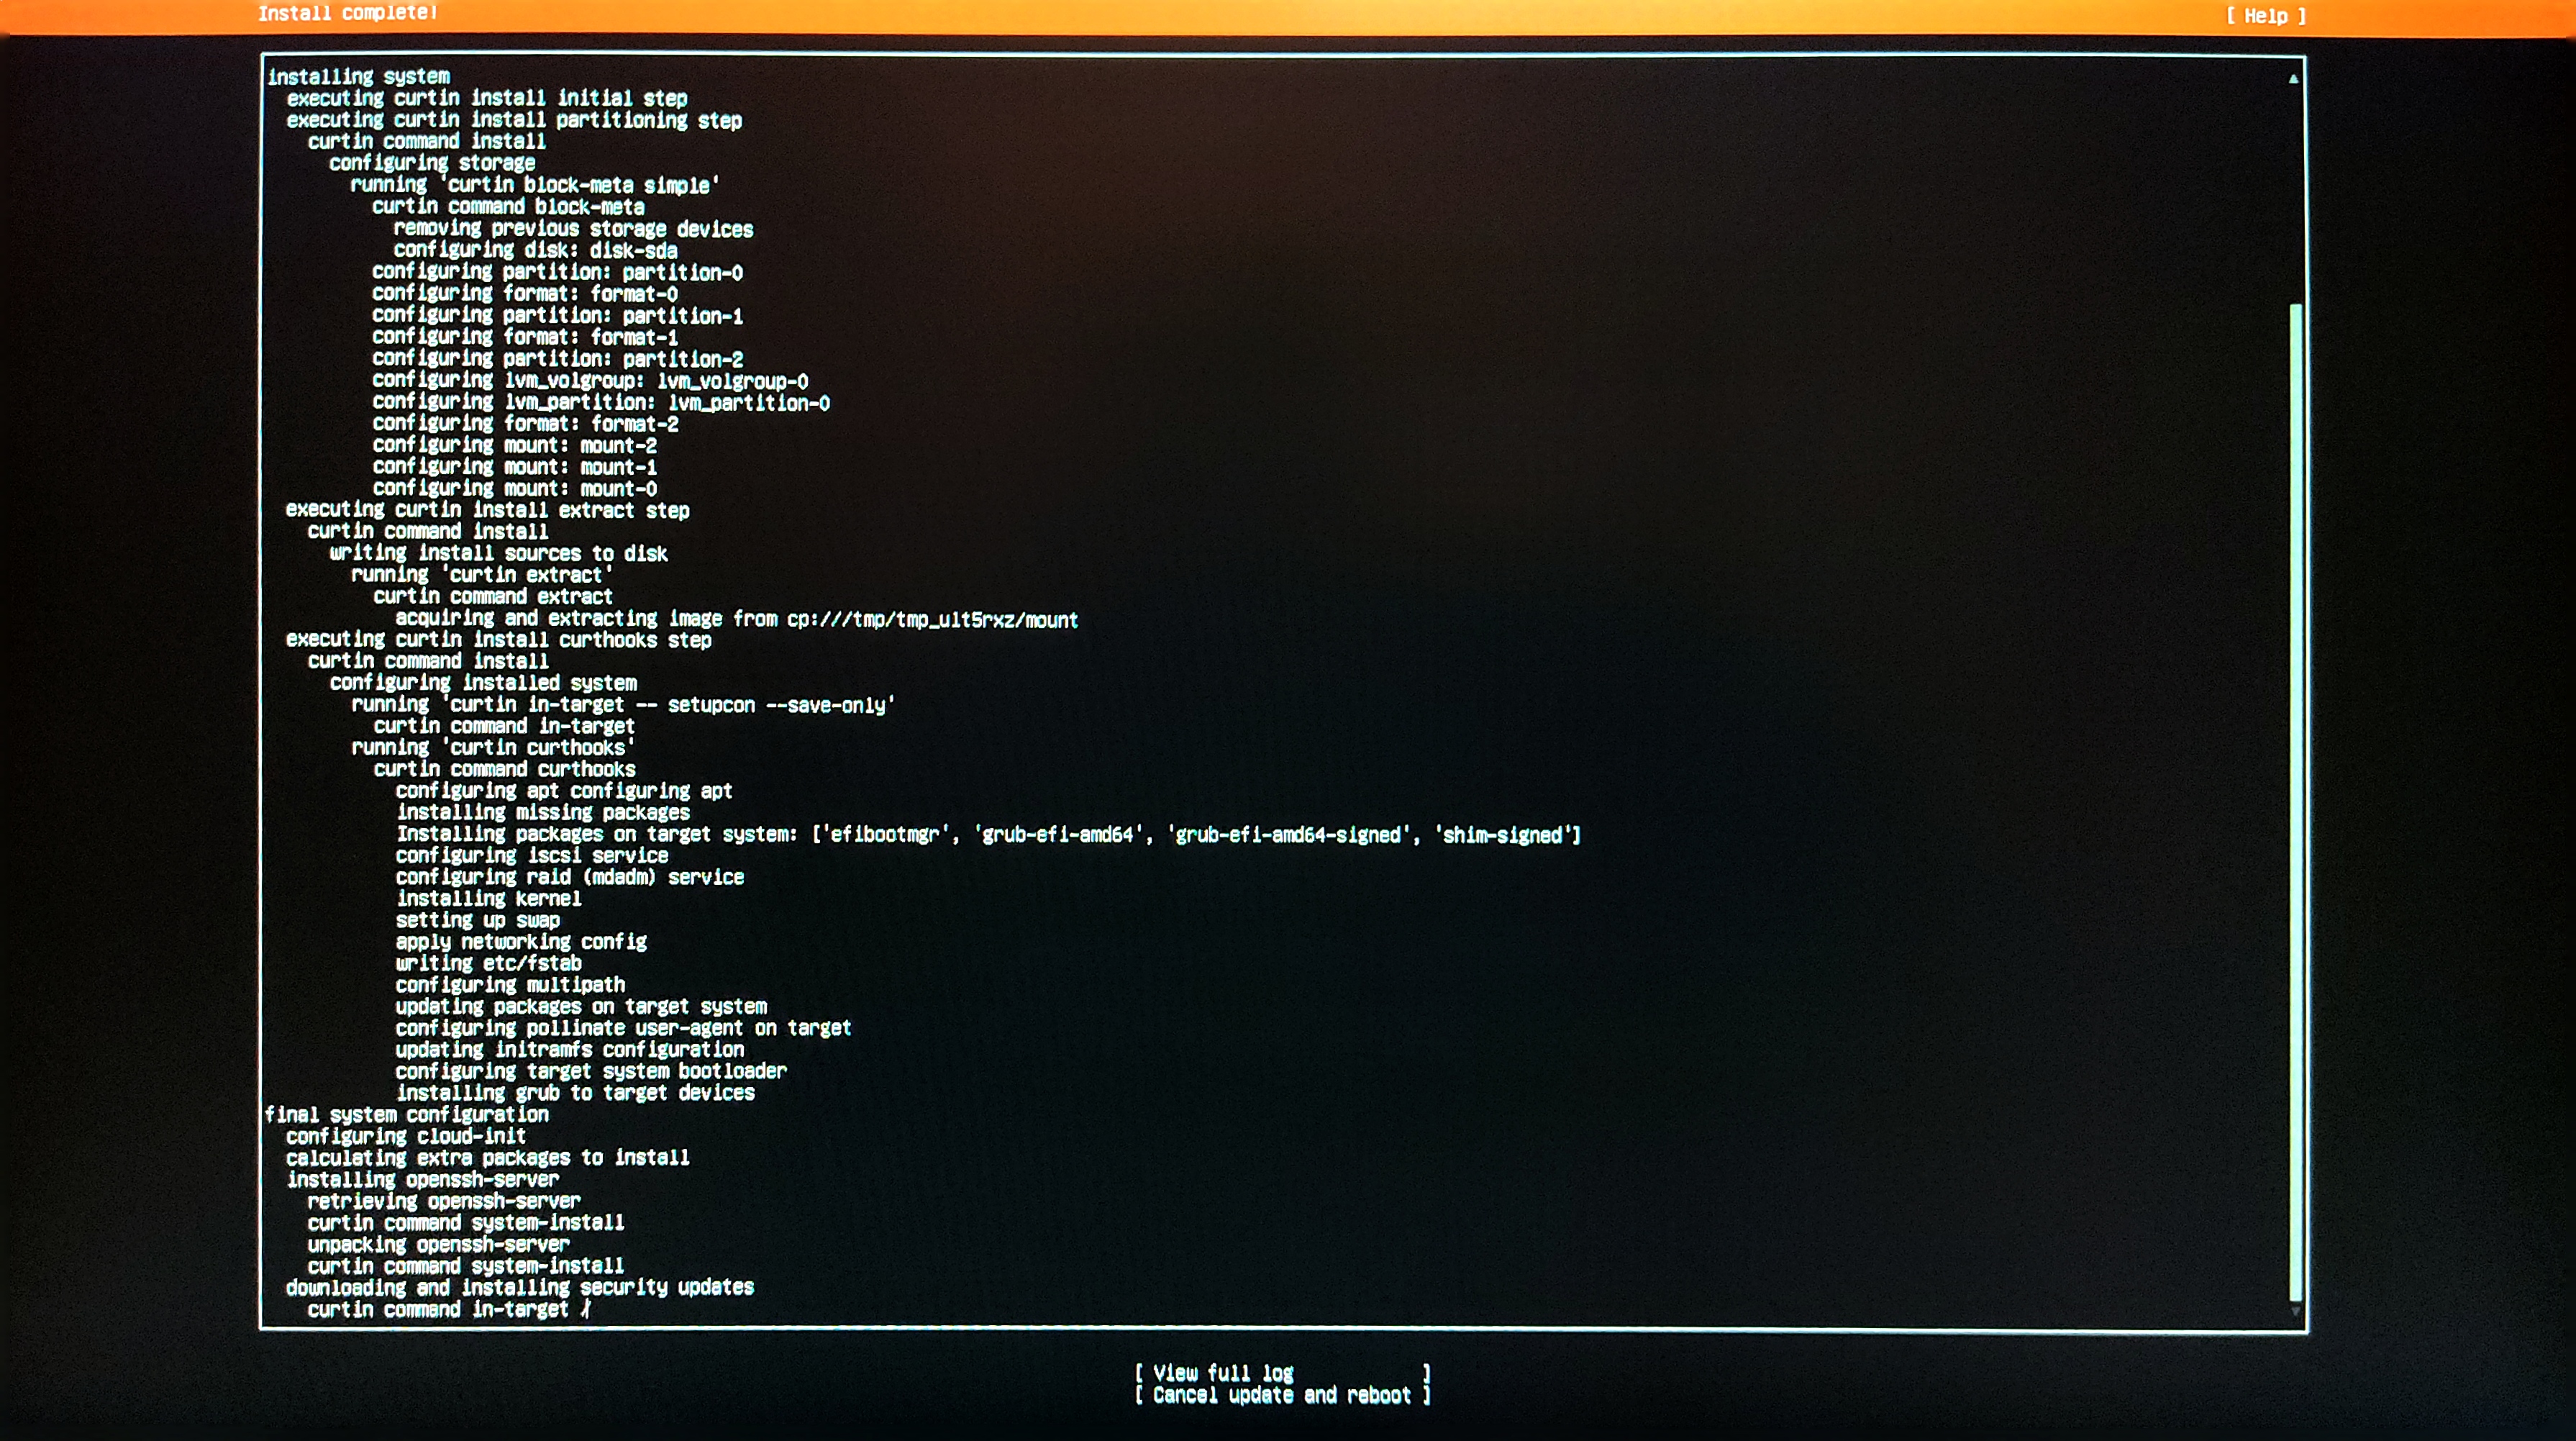
Note that a reboot shall be needed after the installation an the user shall be instructed to do so.
After the reboot, the installation is complete and the server can be used, however there are a couple of good practices to perform after the server has been installed and they can be found in the following post:
Nextcloud - Installing the server